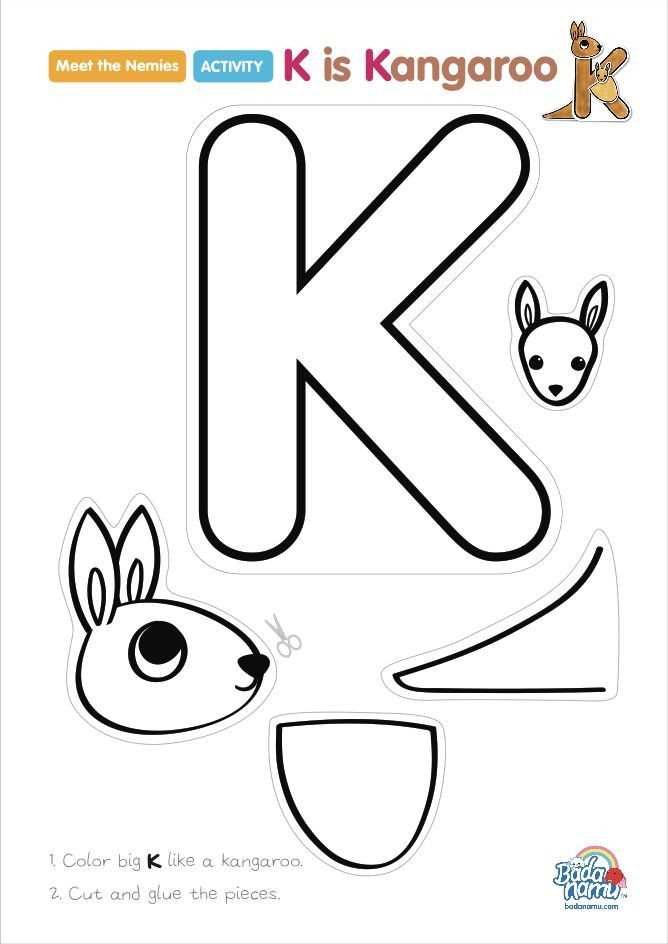
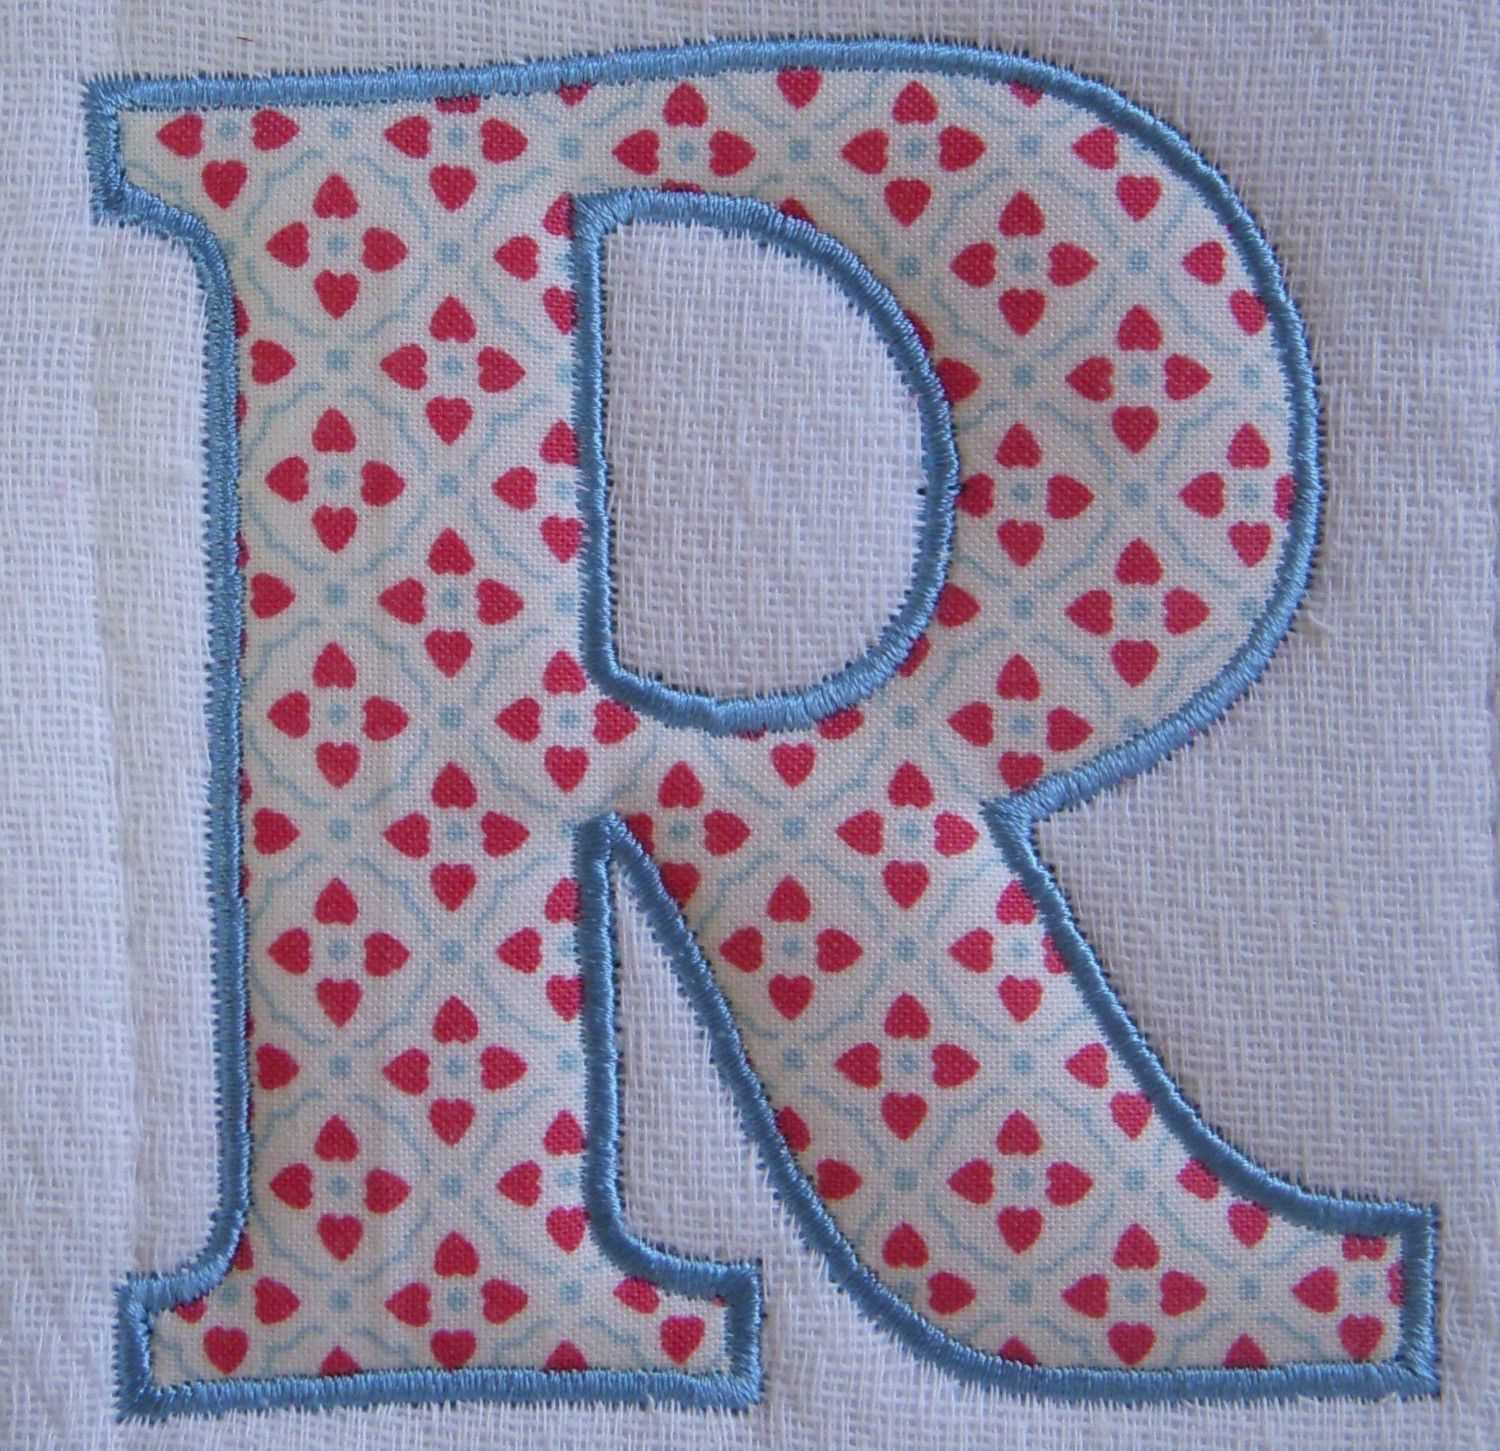
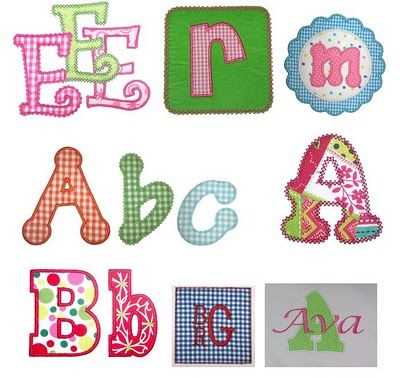
Letter templates for applique

Creating Perfect Applique Letters

For precise and clean applique, use letter templates as a guide. Choose a font that suits your project, then print it in the desired size. Ensure the letters are clear and easy to cut. You can use paper or fabric templates to outline the shapes on your material.
Step-by-Step Guide
- Pick your font style and size based on the project’s theme.
- Print the letters on sturdy paper or directly onto fabric using a fabric marker.
- Cut out the letters carefully along the outline to avoid jagged edges.
- Attach the template to your fabric using pins or fabric adhesive.
- Sew around the edges with a zigzag or satin stitch to secure the applique.
Choosing the Right Fabric for Applique
Select fabric with a smooth texture to help the applique process go smoothly. Cotton or felt works well for most projects. Ensure the fabric doesn’t fray easily to keep your letters looking neat. If needed, use fusible webbing for a secure hold before stitching.
Customizing Your Applique Letters
Add personality to your applique letters by experimenting with colors, textures, and stitching techniques. Use contrasting thread colors or add small embellishments like beads or sequins to make each letter stand out.
Common Mistakes to Avoid

- Choosing a font that’s too intricate for cutting or stitching.
- Not stabilizing your fabric properly before starting the applique process.
- Skipping the pinning step, which may result in misaligned letters.
Letter Templates for Applique
Choose a fabric with a sturdy texture, like cotton or linen, to ensure your letters hold their shape. Avoid fabrics that are too stretchy or thin, as they may distort the edges of the design.
Choosing the Right Fabric for Letters
Select fabric that complements the project’s overall look and durability needs. Quilting cotton is a popular choice for letter appliqué, as it is easy to work with and offers a crisp finish. For a more textured effect, consider using felt or wool blends.
How to Transfer Templates onto Fabric

Print your letter templates on paper and cut them out. Use a fabric transfer pencil or chalk to trace the templates onto the fabric, making sure the lines are visible but easily removable later. For added precision, you can use a lightbox or window to help trace designs clearly.
Step-by-Step Guide to Letter Stitching
Begin by securing the fabric with your letter design to the base fabric using pins or temporary fabric adhesive. Use a tight zigzag stitch or satin stitch to outline the letter, ensuring the edges are covered neatly. Sew slowly around the perimeter for sharp, clean edges.
Creative Variations for Applique Designs
Experiment with different stitching techniques such as French knots, blanket stitch, or decorative stitches to add texture to your letters. You can also mix fabrics within the letter, creating a patchwork effect. Combine appliqué with embroidery to create more detailed designs.
Common Mistakes to Avoid When Using Applique
Avoid using too much fabric adhesive, as it can cause the fabric to become stiff and difficult to sew. Additionally, be cautious with thread tension. Too tight or too loose thread can cause puckering or uneven stitches, detracting from the overall look of the appliqué.
How to Finish and Embellish Applique
Once your appliqué is stitched, trim any excess fabric from the back, leaving a small margin to prevent fraying. For added embellishment, consider using fabric paint, rhinestones, or beads to enhance your design. Iron the appliqué to set the stitches and smooth any wrinkles for a polished finish.