Formal invitation letter template for event
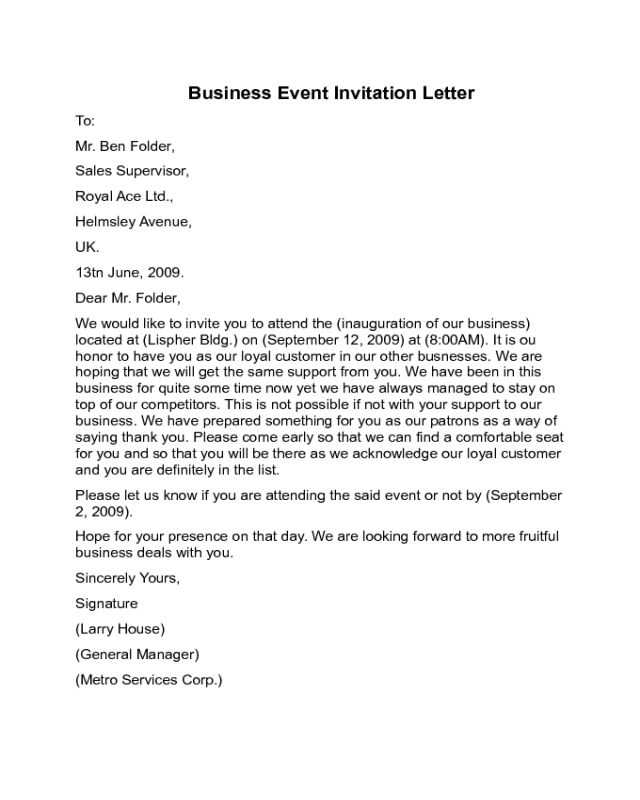
Creating a formal invitation letter requires clarity and professionalism. A well-crafted letter ensures your event is taken seriously and shows respect for the recipient’s time. It also sets the tone for the event, outlining key details such as date, time, and location in a concise and organized manner.
Begin your letter with a clear opening, addressing the recipient respectfully. Include the name of the event and its purpose right away. Following this, provide the essential details: the exact time, date, venue, and any other relevant instructions. Use direct language and maintain a polite, formal tone throughout.
Make sure to include a call to action, such as an RSVP request or any other action you would like the recipient to take. Close the letter by expressing appreciation for their time and consideration. A formal invitation letter serves as both an informative document and a courteous gesture, laying the groundwork for a successful event.
Here’s the corrected version of the text:
Ensure the invitation letter has a clear subject line, such as “Formal Invitation to [Event Name]”. Open with a warm greeting and address the recipient by name. Introduce the event with specifics, including the date, time, and location. Mention any notable details, such as special guests, activities, or dress codes, to help the recipient prepare. Use a polite but direct tone to request an RSVP by a certain date and provide contact details for questions or confirmation. Conclude with a friendly closing, expressing hope for their presence at the event.
- Formal Invitation Letter Template for Event
To craft a formal invitation letter, begin with a clear header including the name of your event, the date, time, and venue. Address the recipient respectfully using their title and full name. Clearly state the purpose of the invitation and provide specific details regarding the event. For instance, mention any dress code, RSVP instructions, or other important information the invitee needs to know.
Here’s an example structure:
- Header: Event Name, Date, and Venue
- Salutation: “Dear [Recipient’s Full Name],”
- Opening sentence: Briefly introduce the event with a polite invitation: “We are pleased to invite you to [Event Name].”
- Event details: Clearly describe the event’s purpose, time, date, and location.
- Additional instructions: If applicable, include RSVP instructions, dress code, or other requirements.
- Closing sentence: “We hope you can join us and look forward to your presence.”
- Signature: End with a formal closing: “Sincerely,” followed by your name, title, and organization.
Make sure your language remains polite and professional throughout. This ensures your invitee feels respected and understands the importance of the event.
Match the tone of your invitation to the nature of the event and your relationship with the recipients. For formal events, use polite and respectful language. Keep the phrasing professional, yet approachable, avoiding overly casual expressions. If the event is a corporate gathering, lean towards a tone that reflects authority and seriousness, but stay warm enough to engage your audience.
For informal events, you can opt for a lighter and friendlier tone, but maintain clarity and respect. Make sure the invitation reflects the atmosphere of the event–whether it’s relaxed or festive–by choosing language that resonates with that mood.
Always consider the audience. Tailor the language to suit their preferences. For example, if your invitees are industry professionals, prioritize clear and direct language, with a focus on what they will gain from attending. On the other hand, for a family gathering or social event, a conversational tone can make the invitation feel more personal and welcoming.
Use clear, concise language. Avoid unnecessary jargon or complex phrasing that may confuse recipients. Every word should add value, whether it’s highlighting key event details or expressing enthusiasm about the upcoming occasion.
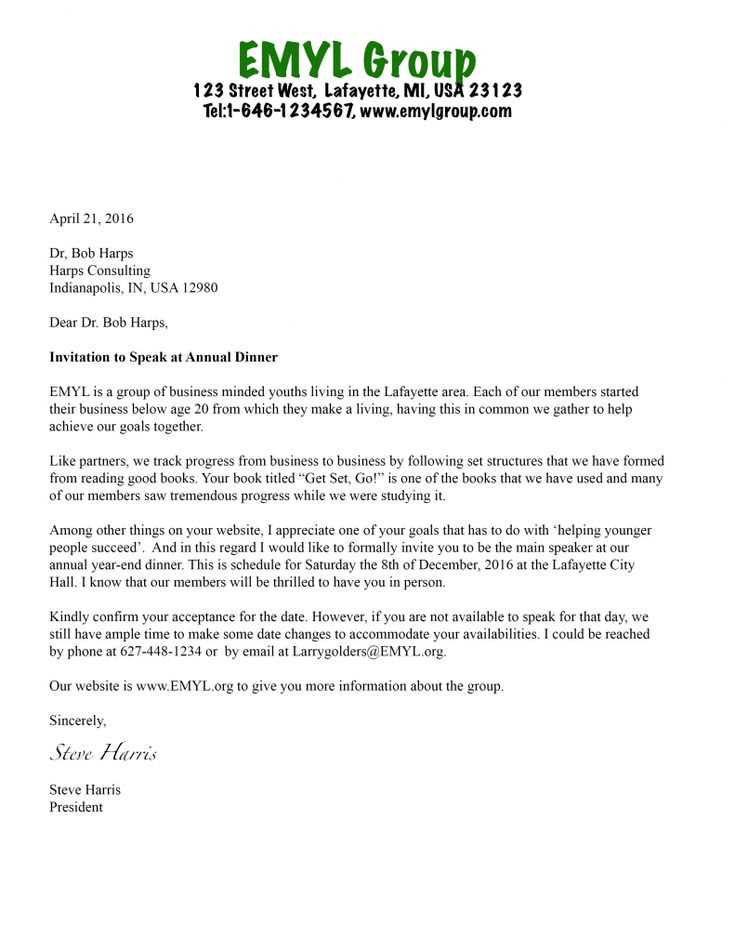
Start with the sender’s details at the top of the letter. Include the full name, address, and contact information. If it’s a business letter, add the company name and position.
Next, add the date. It should be aligned to the right or left depending on the format you prefer. Ensure the date is current and accurate.
Follow with the recipient’s name and address. Use the correct title, whether it’s Mr., Ms., or a professional title like Dr. This sets a respectful tone for the communication.
After the recipient’s details, include a formal salutation. “Dear [Name]” works in most cases, but if you’re unsure about the recipient’s title, it’s best to use a more neutral greeting like “To Whom It May Concern.”
Begin the body of the letter with a direct and clear statement of the purpose. Avoid unnecessary background or fluff. Make sure the reason for writing is evident right away.
Provide the necessary details and supporting information in the subsequent paragraphs. Keep it concise but thorough. Use clear language to convey your message without adding unnecessary details.
In the closing paragraph, make sure to express appreciation or a call to action, depending on the nature of the letter. This section should be polite and respectful, leaving a positive impression.
Finally, sign off with a formal closing such as “Sincerely” or “Yours faithfully,” followed by your name and title. If applicable, include your position or organization beneath your name for further clarity.
Begin by using the recipient’s correct title, such as Mr., Ms., Dr., or Professor, followed by their last name. This ensures formality and respect, especially in business or academic contexts. For example, use “Dear Mr. Smith” or “Dear Dr. Johnson.” Avoid using first names unless you have an established rapport with the person or the invitation is casual.
If the recipient holds a specific position, such as a CEO or a Director, it’s appropriate to include that in the greeting. For instance, “Dear CEO Thompson” or “Dear Director Anderson.” This adds an extra layer of respect and acknowledges their role within the organization.
For a group or multiple recipients, use a collective address, such as “Dear Members of the Board” or “Dear Colleagues.” This keeps the tone formal while addressing everyone involved.
If you’re unsure about the recipient’s title, it’s safer to use their full name without any honorifics, such as “Dear Alex Johnson.” However, this is less formal and should be reserved for specific situations where a more casual tone is acceptable.
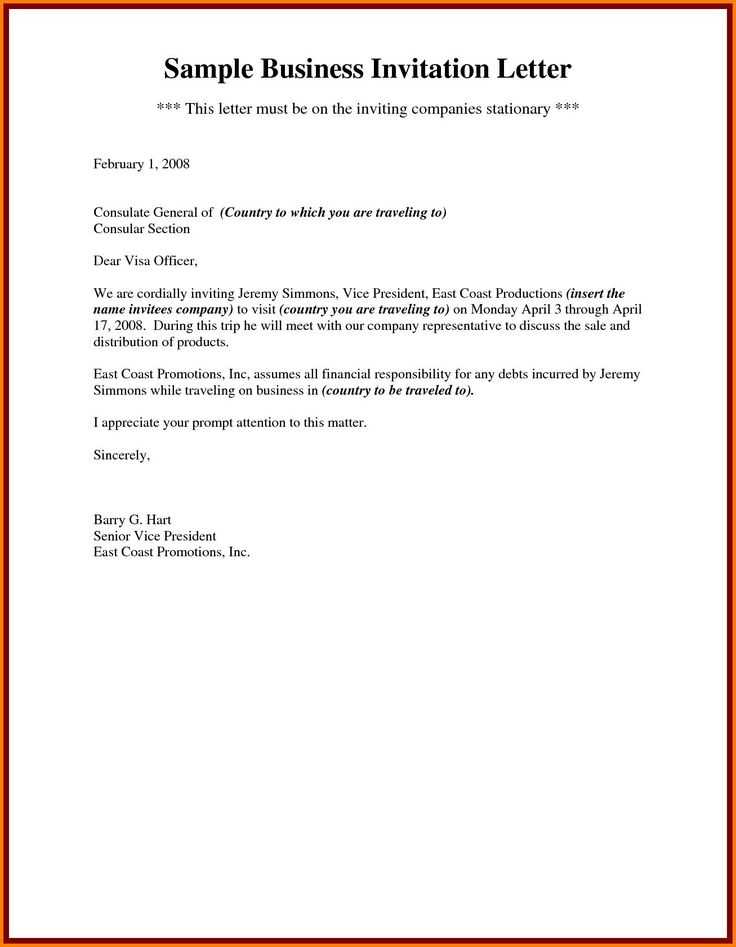
Choose a date and time that aligns with your target audience’s availability. Avoid public holidays or busy work periods to ensure better attendance. Consider weekdays for business-related events and weekends for casual gatherings. Time slots in the afternoon or early evening are usually ideal for most events.
Selecting the Date
- Survey potential attendees to understand their availability.
- Confirm the event doesn’t overlap with other major events in the area.
- Plan for a date that gives you enough time for preparation.
Choosing the Time
- Avoid scheduling too early or too late, as this can deter participation.
- Consider the nature of the event–daytime for workshops or seminars, evening for social gatherings.
Picking the Location
- Choose a location easily accessible by public transport or with ample parking options.
- Ensure the venue size suits your expected guest list.
- Confirm that the venue has all necessary facilities, like Wi-Fi, projectors, or audio systems, if required.
Clearly outline how guests should confirm their attendance and provide any necessary event instructions. This ensures you receive accurate responses and that attendees know exactly what to expect.
RSVP Instructions
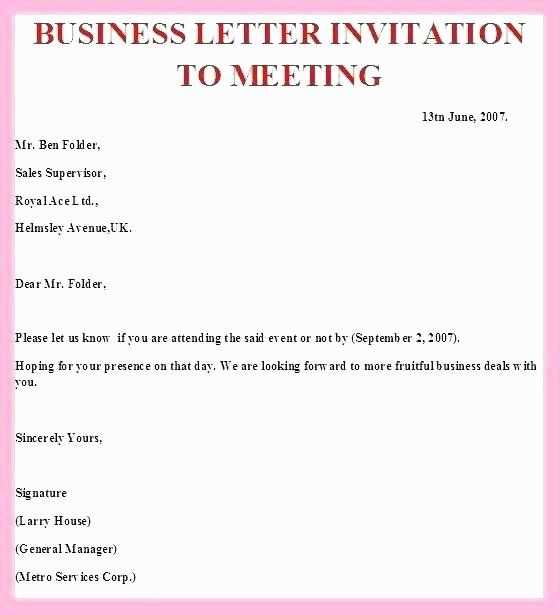
Provide the recipient with clear instructions on how to confirm their attendance. Include the preferred method, such as via email, phone, or online form. Include a deadline for responses to help with planning. For instance, “Please RSVP by [date] to [email/phone]” ensures there’s enough time to finalize arrangements.
Event Instructions
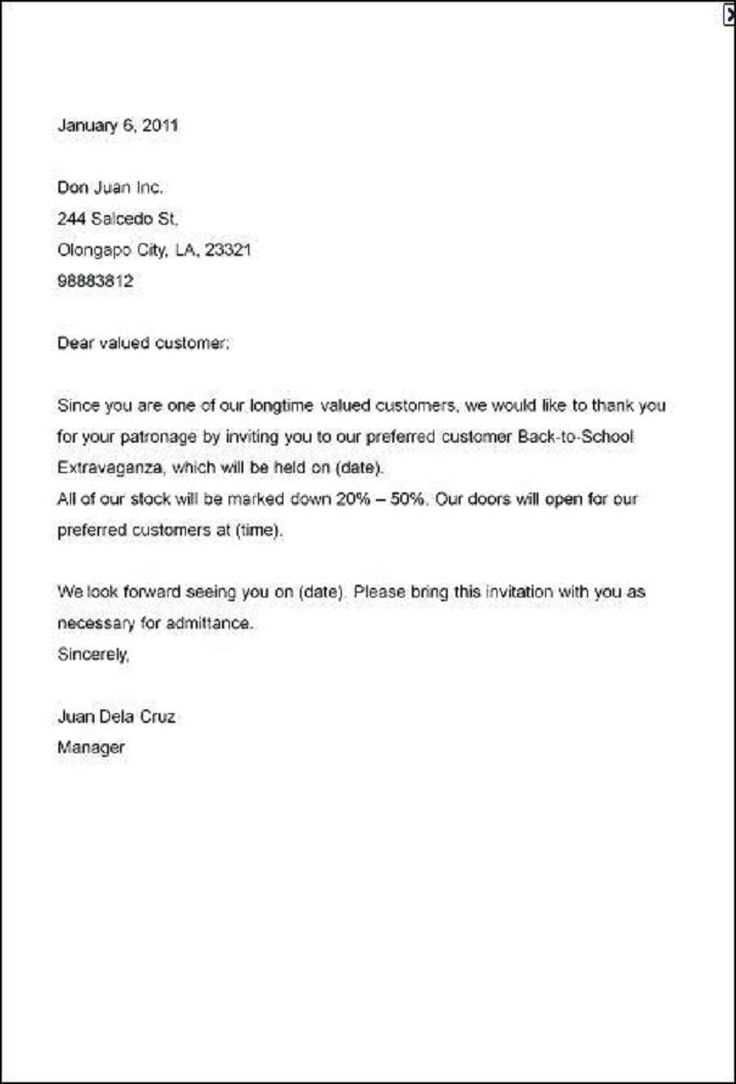
Include necessary event details, such as dress code, parking instructions, or what to bring. For example, if the event requires specific attire, mention it clearly: “Dress code: Business casual.” For events in venues with limited parking, you might provide a map or parking passes: “Parking is available at [location], please bring your pass to enter.”
| Event Instruction | Details |
|---|---|
| RSVP Deadline | [Date] |
| Dress Code | [Casual/Formal/etc.] |
| Parking Information | [Location/Pass Information] |
| Special Requests | [Any accommodations or requests] |
Clearly stating RSVP details and instructions guarantees that all logistics run smoothly. Guests will appreciate the clarity and feel confident attending your event without confusion.
After drafting your invitation letter, read it through several times. Check for clarity and coherence in your message. Ensure the purpose of the event is clear from the first sentence, and the necessary details–date, time, location–are easily found. Double-check the spelling and grammar. A single typo can affect the letter’s professionalism.
Be mindful of the tone and language. Keep it polite but direct, avoiding overly casual language. Make sure the invitation is warm, yet formal, without sounding too stiff or impersonal. Adjust phrases that may seem too complex or vague. The goal is to make sure your recipients feel both respected and excited about the event.
Have someone else review your letter. A fresh set of eyes can catch errors or unclear sections that you might have missed. They can also provide feedback on the overall flow of the letter and whether it conveys the right level of enthusiasm and professionalism.
If the letter includes any specific instructions or requests (e.g., RSVP details), confirm these are clear and easy to follow. Reorganize sections if needed to improve readability. Lastly, make sure the letter is formatted correctly, with appropriate spacing, fonts, and margins for a polished look.
In a formal invitation letter, ensure the list of details is clear and structured. Start with the event title, date, and time, followed by the venue and any specific instructions for guests.
- Event Title: Clearly state the event name, highlighting its purpose.
- Date and Time: Include the exact day, date, and start time. If the event spans multiple days, mention the schedule for each day.
- Venue: Specify the location with full address, including any specific room or hall, if necessary.
- Dress Code: If applicable, state the desired attire to avoid confusion.
- RSVP: Provide a deadline and method for guests to confirm attendance.
- Additional Information: Mention any preparations, such as materials to bring or parking instructions.
Keep the tone respectful and straightforward. Avoid unnecessary details, focusing only on what guests need to know to prepare for the event.