Latex letter template with logo
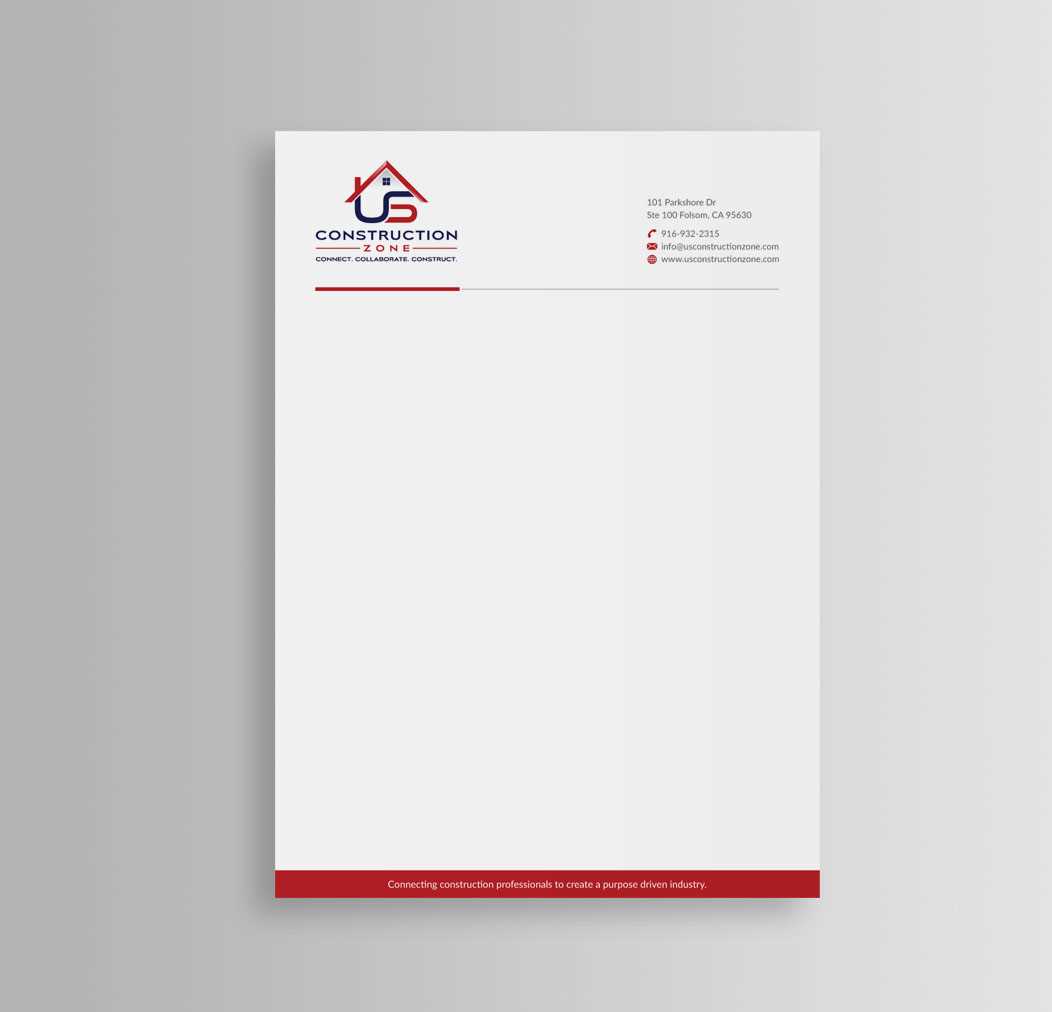
To add a logo to your LaTeX letter template, begin by including the graphicx package in the preamble of your document. This package simplifies the process of inserting images, including logos:
usepackage{graphicx}
Once the package is loaded, insert your logo using the includegraphics command. Adjust the size of the logo to fit the document layout by specifying the width parameter. Here’s an example:
begin{figure}[h!]
centering
includegraphics[width=0.2textwidth]{logo.png}
end{figure}
Position the logo as needed with centering, left, or right commands, depending on where you want it on the page. This allows you to integrate the logo cleanly into the letter template, ensuring a professional look.
With this simple setup, your LaTeX document will look polished and ready to impress. Adjust the image size and positioning to align with your branding needs while keeping the layout neat and functional.
Here is the corrected version:
For your letter template in LaTeX with a logo, ensure the following modifications to improve layout and functionality:
1. Logo Positioning
Place the logo in the header for better visibility. Use the includegraphics command from the graphicx package to insert the logo. Adjust the positioning to avoid overlap with the text. For example:
usepackage{graphicx}
begin{document}
begin{titlepage}
centering
includegraphics[width=0.3textwidth]{logo.png}
end{titlepage}
2. Letter Format Adjustment
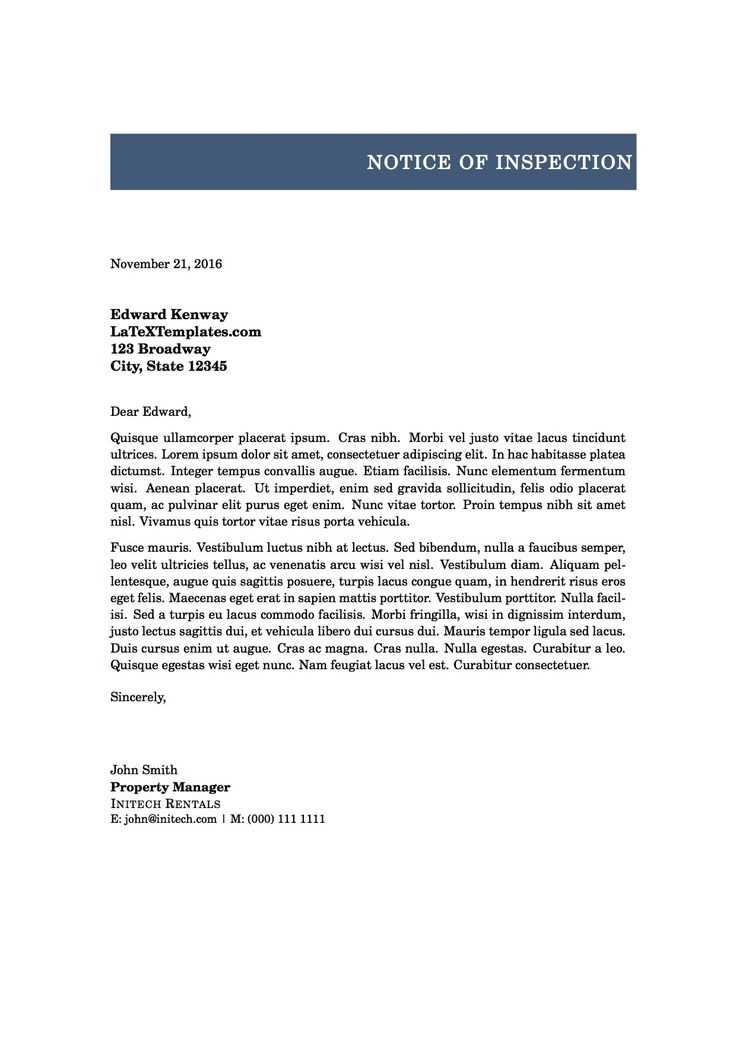
To maintain professional appearance, use documentclass[a4paper]{letter}. This ensures your letter is well-aligned and fits the standard paper format. You can customize the margins with geometry:
usepackage[a4paper, left=2.5cm, right=2.5cm, top=2.5cm, bottom=2.5cm]{geometry}
end{pre>
3. Adding Contact Information
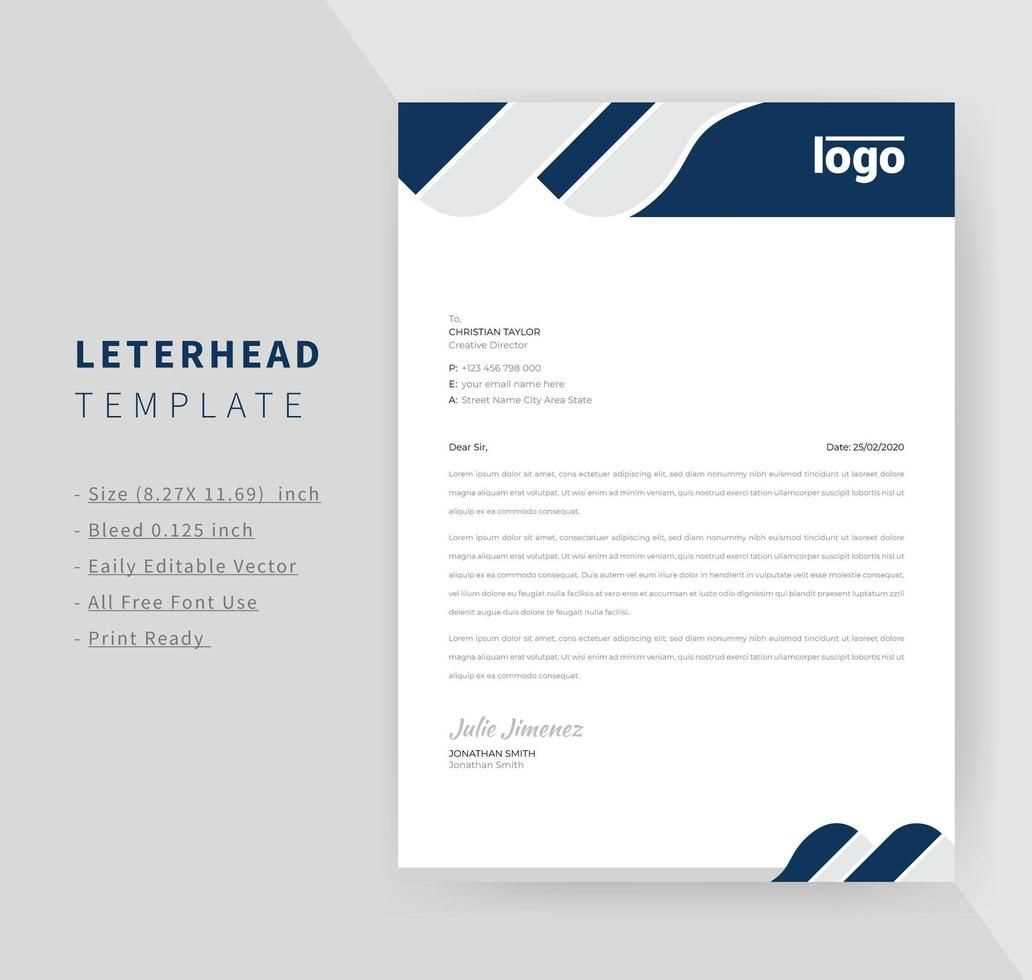
Include the sender's contact details in the header using the address command:
address{123 Main Street, City, Country\ [email protected]\ +123456789}
end{pre>
For the recipient's details, use signature and closing:
signature{John Doe}
closing{Sincerely,}
end{pre>
4. Customization of Content
Adapt the body of the letter by adjusting font size and margins according to your preferences. Use small, large, or other size modifiers. For example, to adjust the body text size:
begin{letter}{Recipient Name\ Recipient Address}
opening{Dear Sir/Madam,}
begin{flushleft}
small{This is a sample letter with a logo positioned correctly. Modify the content as needed.}
end{flushleft}
closing{Best regards,}
end{letter}
5. Table for Structured Information
If you need to present data in a structured format, use the following table layout:
| Section | Details |
|---|---|
| Contact Information | Include sender’s name, address, and email. |
| Logo Placement | Position logo in the header for easy access. |
| Body Text | Adjust font sizes and margins for clarity. |
- Creating a LaTeX Letter Template with Logo
To create a professional LaTeX letter template with a logo, begin by setting up the basic structure of your document using the `letter` document class. This provides a clean layout for correspondence.
Include your logo by using the `graphicx` package. In your preamble, add:
usepackage{graphicx}
Next, place the logo at the top of the letter. Use the following command in the body of the document:
begin{center}
includegraphics[width=3cm]{logo.png}
end{center}
Adjust the width of the logo to fit the desired size. If your logo file is in a different format, ensure that it is compatible with LaTeX or convert it to a suitable format like PNG or EPS.
Position your contact information and the recipient’s details. For example, you can use:
begin{letter}{Recipient Name\
Street Address\
City, State, ZIP}
end{letter}
After adding the recipient’s information, compose your letter content as usual. You can enhance the layout further by adding custom headers, footers, or adjusting the margins.
Finally, compile your document using a LaTeX editor, and your letter template with the logo will be ready to send!
To create a basic letter template in LaTeX, begin by defining the document class. Use the documentclass{letter} command, which is specifically designed for letter formatting.
Next, add your sender’s address, which can be customized with the address command. Include information such as your name, street address, city, and country.
- Example:
address{John Doe\1234 Elm Street\Hometown, USA}
For the recipient’s address, use the begin{letter}{Recipient's Address} command. The recipient’s name, company, and address are placed inside the curly braces.
- Example:
begin{letter}{Jane Smith\5678 Oak Avenue\Cityville, USA}
Now, configure the letter’s subject and opening. Insert the opening command for a greeting, such as “Dear [Name],”. You can also include a signature command to sign off automatically at the end of the letter.
- Example:
opening{Dear Jane,} - Example:
signature{John Doe}
If you wish to add a logo or image to your letter, use the includegraphics command within the document preamble. Specify the image file and scale it accordingly.
- Example:
includegraphics[width=3cm]{logo.png}
After completing these steps, finalize the letter content with the closing command, which concludes the letter. You can use terms like “Sincerely” or “Best regards” based on your preference.
- Example:
closing{Sincerely,}
Finally, compile the document using a LaTeX editor or online compiler to generate the formatted letter with your desired layout and logo.
To integrate a custom logo into your LaTeX letter template, use the includegraphics command from the graphicx package. First, ensure that your LaTeX document includes the necessary package by adding the following to the preamble:
usepackage{graphicx}
Next, place your logo image file in the same directory as your LaTeX file for easy access. To insert the logo, use the includegraphics command where you want the logo to appear in the document. For example:
includegraphics[width=2cm]{your_logo.png}
This command adjusts the logo size to 2 cm in width. You can customize the width and height values based on your design preferences. If you want to position the logo at the top of your letter, place the includegraphics command right after the begin{letter} command, ensuring it appears before the letter content.
Positioning the Logo
If the default placement doesn’t work, consider using the textwidth or left options to refine its alignment. For example:
includegraphics[width=0.3textwidth, left]{your_logo.png}
Here, the logo will scale according to 30% of the text width and align to the left. You can adjust the percentage as needed to match the layout.
Logo Transparency and Formats
Ensure your logo is in an appropriate format like PNG or JPG. If you prefer a transparent background, PNG works best. Adjust the image resolution to avoid a pixelated logo when printed. For vector images, consider using SVG or PDF formats for crisp and scalable results.
Adjust margins and alignment in LaTeX letters by modifying specific settings in your document preamble. These adjustments can make your letter look more professional and better aligned with your requirements.
To set the margins, use the geometry command from the geometry package. This command allows you to fine-tune the page layout to fit your needs. For example:
usepackage[a4paper, left=2cm, right=2cm, top=2cm, bottom=2cm]{geometry}
This sets the page size to A4 with 2cm margins on all sides. You can adjust the values to fit your preferences. The geometry package gives you full control over the page size, including portrait or landscape orientation and specific margin sizes.
To align text in your letter, use raggedright, raggedleft, or centering depending on your preference:
raggedright– Aligns text to the left with uneven right margins.raggedleft– Aligns text to the right with uneven left margins.centering– Centers text on the page.
For more advanced alignment control, use the flushleft and flushright environments, or adjust the paragraph indentation using setlength{parindent}{0pt} to remove indentation.
Additionally, to place your letterhead logo or any other image at the top of the page, use the includegraphics command from the graphicx package. To position the logo, you can adjust its size and location with commands like:
includegraphics[width=0.2textwidth]{logo.png}vspace{-1cm}– Adjust vertical space to position the logo as needed.
Experiment with these settings to achieve the desired appearance and alignment in your LaTeX letter.
Leverage the power of LaTeX packages like `geometry`, `fancyhdr`, and `xcolor` to fine-tune the layout and visual appeal of your letter template. The `geometry` package allows for precise control over page margins, making it easy to adjust the document’s spacing to match your design specifications. By customizing page size and margins, you can ensure your content fits perfectly within the given space.
For headers and footers, `fancyhdr` is a great tool. This package allows you to create personalized headers and footers with elements such as logos, document titles, or page numbers. Use simple commands to include custom images, like your company logo, or style the header with a bold font and specific alignment to give your letter a polished, professional look.
For enhanced visual styling, the `xcolor` package enables you to use a wide variety of colors in your document. Whether it’s for text, backgrounds, or borders, color can help highlight key information or match corporate branding. Customizing font colors or background shades is straightforward, adding an extra layer of professionalism to your letterhead.
Combine these packages to create a well-structured and aesthetically pleasing template. For example, adjust the header for your company logo, set up a footer with contact details, and use color accents to draw attention to specific sections, ensuring a clean, elegant look throughout the document.
To add dynamic fields like the date and address into a LaTeX letter template, you can use the date{} and address{} commands, but it requires some customization to automatically update based on the current date and specific address details.
For the date, use the today command to insert the current date. This way, you won’t have to manually change it each time you generate a new letter. Simply place date{today} at the top of your document. LaTeX will automatically fill in the correct date each time you compile the template.
For the address, you can define a custom command to easily insert the address in multiple places within the template. Define a new command like this: newcommand{myaddress}{1234 Example St, City, Country}. Then, insert myaddress wherever you need the address to appear. If you need to update the address, simply change it in one location, and it will update throughout the entire document.
These dynamic fields save time and maintain consistency in your documents. Make sure to test your template after adding these fields to ensure that everything updates as expected when you compile the document.
Once you’ve designed your letter in LaTeX, exporting and printing it with the logo involves a few straightforward steps. The process ensures your document maintains its layout and visual quality across various devices and printers.
Exporting the Letter
To export your letter with the logo, compile the LaTeX document to a PDF using your LaTeX editor. This format ensures the document’s integrity during printing or sharing. Most LaTeX editors like Overleaf or TeXShop have a built-in button to export the file directly to PDF.
- Make sure the logo is properly positioned within the document by adjusting the
includegraphicscommand if needed. - If you’re working locally, use the command
pdflatex filename.texin your terminal to generate the PDF. - Verify that the PDF file looks as expected before proceeding with the print process.
Printing the Letter
After exporting, you can print your letter directly from the PDF file. Most PDF viewers offer a straightforward print option. For best results, ensure that:
- The document’s dimensions match the paper size you intend to print on (e.g., A4 or Letter).
- You’ve set the correct orientation (portrait or landscape) in your LaTeX document with the
documentclassoptions. - The printer settings are aligned with the document layout to prevent any cropping or formatting issues.
If your logo has transparency or a complex background, check the PDF on-screen to ensure it appears correctly before printing. It’s helpful to perform a test print on regular paper to avoid wasting high-quality paper or ink.
Now, minimizing word repetitions while maintaining key points.
Focus on precision. Ensure every word serves a purpose in communicating the idea clearly. Use synonyms where appropriate to avoid redundancy. For instance, replace repeated nouns with their variants to maintain sentence flow.
Consider restructuring sentences. Use active voice and straightforward language to get your point across effectively without over-explaining. Keep sentences concise to maintain clarity.
When presenting lists or steps, utilize bullet points or numbered lists to break down complex information. This improves readability and allows your audience to grasp the main points without feeling overwhelmed.
| Strategy | Benefit |
|---|---|
| Synonym usage | Reduces repetition |
| Concise sentences | Improves clarity |
| Bullet points | Enhances readability |
To make sure your writing remains efficient, avoid filler words. These often clutter the message and slow down comprehension. Keep your focus on the core information and communicate it as directly as possible.