Letter d dinosaur craft template

Creating a fun dinosaur craft using the letter “D” is a fantastic way to engage kids in both learning and creativity. This simple activity can help develop motor skills and provide a hands-on approach to learning about dinosaurs and letters simultaneously.
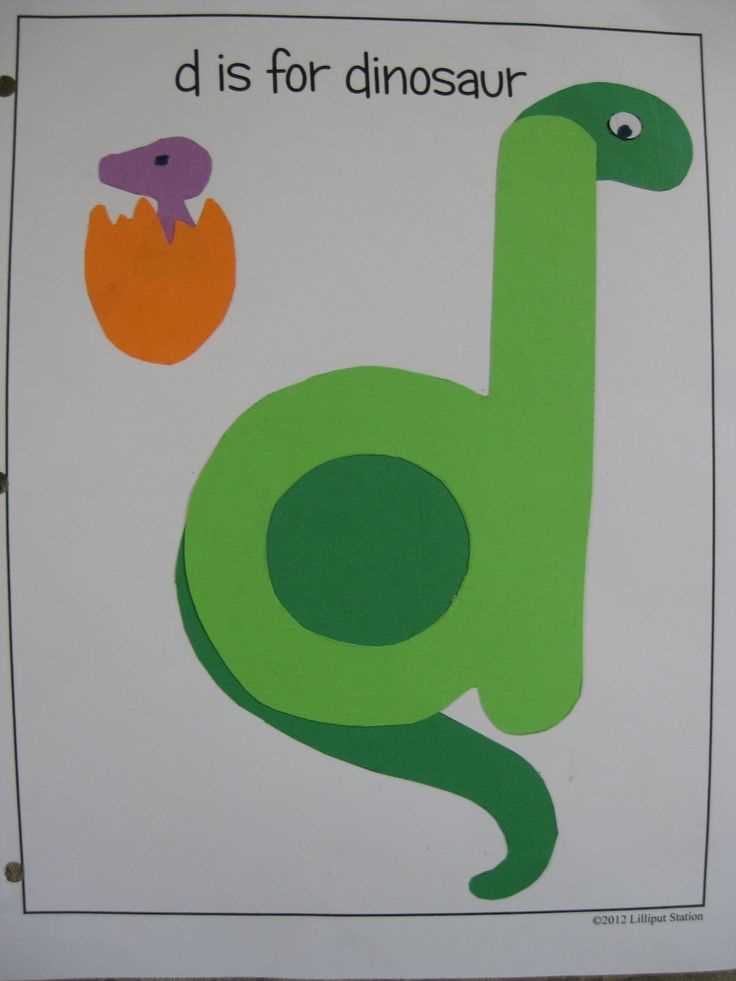
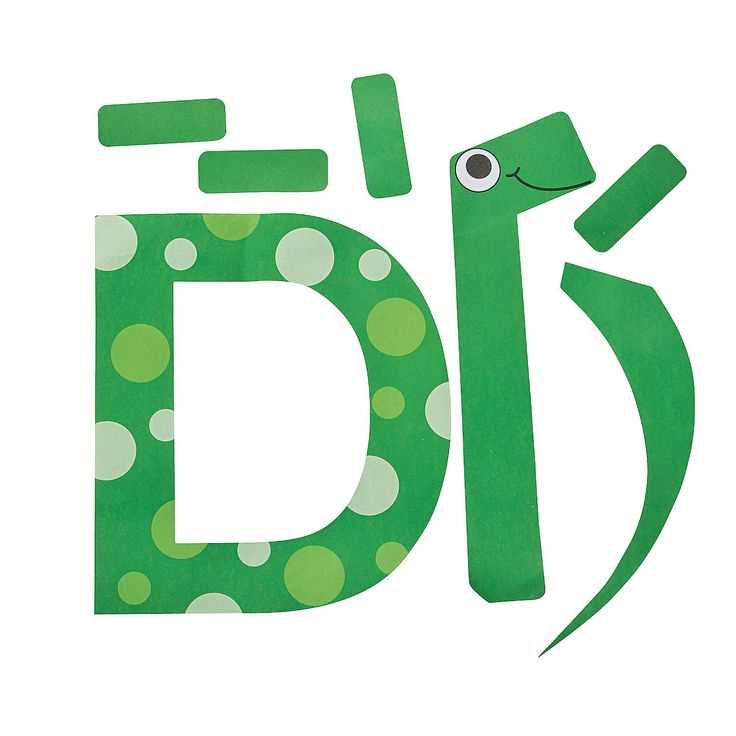
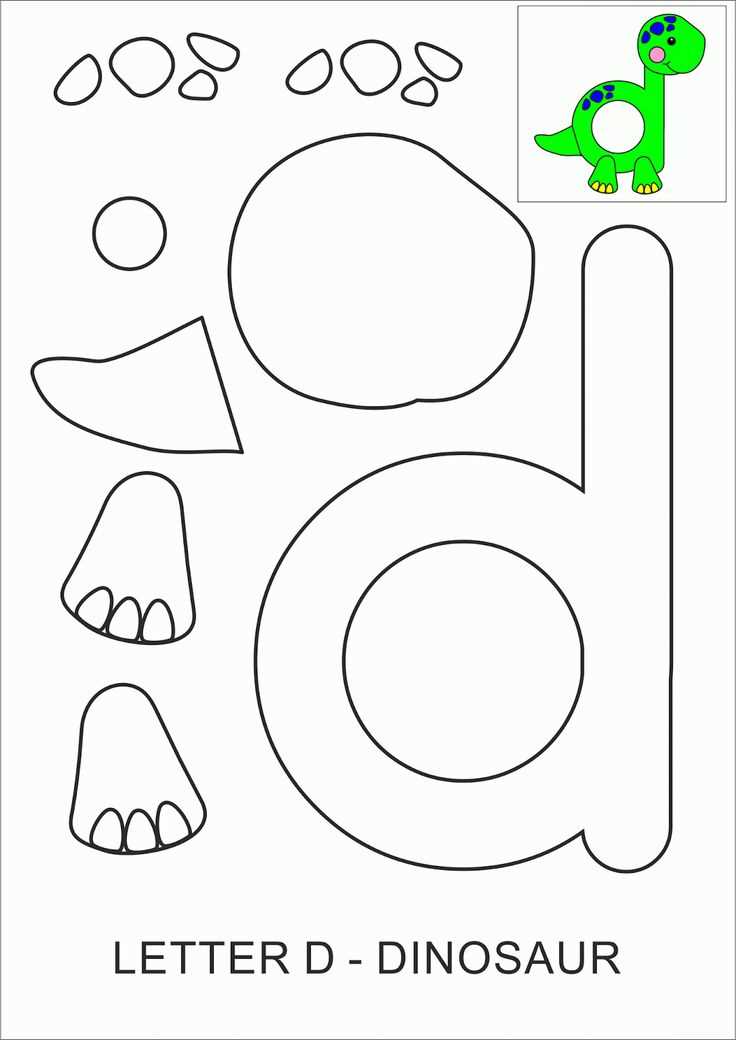
To get started, print out the letter “D” template, and make sure you have some basic craft materials like scissors, glue, colored paper, and markers. Begin by cutting out the letter “D” and using it as the base for the dinosaur’s body. You can add fun details such as spikes, a tail, or even tiny feet to bring your dinosaur to life.
If you want to make the project more interactive, try creating a 3D version of the dinosaur by folding the edges of the “D” to add depth. You can also experiment with different colors and textures to make your dinosaur stand out, from using green paper for a traditional look to adding other patterns for a more imaginative creature.
As an extra step, encourage the kids to give their dinosaurs unique names and create little stories about them. This not only makes the craft more personal but also fosters creativity in storytelling.
Letter D Dinosaur Craft Template
To create a fun and easy “Letter D Dinosaur” craft, begin by printing the provided template of the letter “D.” Ensure the template is the right size for your project. You can use colored paper, markers, or crayons to decorate the letter, giving it the appearance of a dinosaur. Cut out the letter “D” carefully, leaving room for additional details.
Adding Dinosaur Features
Transform the “D” into a dinosaur by adding a tail and legs. Cut out small triangular shapes for spikes, and glue them along the top edge of the letter to create a dinosaur’s back. Draw or attach eyes and a smiling face to bring your dinosaur to life. Add a tail at the bottom of the letter by cutting a curved strip of paper, and attach it to the back of the “D.” You can make the tail as long or short as you’d like, depending on your design.
Personalizing the Craft

Encourage creativity by allowing kids to use various materials like glitter, stickers, or googly eyes. This will make each dinosaur unique and fun. Once the basic structure is completed, you can also add additional details, like spots or stripes, to give the dinosaur more personality.
Choosing the Right Materials for Crafting
Use sturdy cardstock for the main body of the dinosaur craft. It provides durability, making the shape stand out while ensuring it holds together well.
Paper Choices
For the dinosaur’s features, like scales and eyes, consider using colored paper or textured sheets. These materials allow for easy cutting and pasting while adding a visual pop to the craft.
Adhesives
Use glue sticks for easy handling. Liquid glue can be messy, especially with small details, so glue sticks work better for neatness and control.
Finishing Touches
To add more detail, use markers or crayons for drawing textures. Stickers or foam shapes can be used to create three-dimensional effects for eyes and teeth.
| Material | Recommended Use |
|---|---|
| Cardstock | Base body and large parts of the dinosaur |
| Colored Paper | Details like scales and facial features |
| Glue Stick | Attaching pieces and details |
| Markers/Crayons | Adding textures and small drawings |
| Stickers/Foam Shapes | Creating 3D effects for features like eyes and teeth |
Step-by-Step Instructions for Creating the Dinosaur Shape
Begin by printing out the dinosaur template. Cut along the outlined edges to create the basic shape of the dinosaur. Focus on cutting carefully around the tail, legs, and neck areas for a smooth finish.
Outline the Details
Using a pencil, trace the major features like the dinosaur’s eyes, mouth, and spikes along its back. These details will help guide your next steps as you add color or texture. Make sure the shapes are clear but not overly detailed for easier crafting.
Add Color and Texture
Fill in the dinosaur shape with your chosen colors using markers, crayons, or paints. Add texture with small dots or lines to simulate scales or patterns, giving your dinosaur more character. Keep it simple to avoid overwhelming the design.
Once the color is dry, go over the edges with a black marker to make the shape stand out. This will help define the outline and bring the dinosaur to life.
Decorating Tips to Enhance the Dinosaur Craft

Use contrasting colors for different parts of the dinosaur’s body. Choose greens and browns for the body and lighter shades for the underbelly to create a natural look.
- Texture: Add texture using materials like cotton balls, fabric, or crumpled paper for a more dimensional look.
- Details: Draw or use stickers to create eyes, teeth, and scales for a playful effect.
- Spikes or Plates: Cut out triangles or rectangles from construction paper to form spikes or plates along the back.
- Environment: Decorate the background with plants or trees to make the dinosaur feel like it’s in its natural habitat.
- Shading: Add shading or shadowing to give depth to the dinosaur’s body and make it appear more three-dimensional.
Common Mistakes to Avoid During Crafting

Avoid cutting the template pieces too quickly. Precision matters, so take your time and cut carefully along the lines. Rushed cuts can lead to uneven edges, which affect the overall appearance of your craft.
Choosing the Right Paper
Not all paper types are suitable for crafting. Using thick or textured paper can make it hard to achieve clean cuts and folds. Opt for standard craft paper to keep the shape sharp and manageable.
Overlooking Adhesive Application
Too much glue can cause excess residue to show up and can even weaken the structure of your craft. Apply a thin, even layer of adhesive to ensure the pieces stick without warping or leaving unwanted marks.
Creative Variations for Different Age Groups
For younger children (3-5 years), use simple shapes and large, clear outlines for the dinosaur craft. Allow them to focus on coloring in large sections, using crayons or markers. This approach helps with fine motor skills development.
For Early Elementary (6-8 years)
Introduce more detailed features, like textured scales or dinosaur spikes. Encourage creativity by letting children mix colors and try different patterns on their crafts. Offer pre-cut templates to save time on the cutting part, allowing them to focus on assembling and decorating.
For Older Kids (9-12 years)
Provide more complex templates with intricate patterns that can be painted or shaded. Include challenges like adding a background scene or a 3D element, such as paper mache for a more tactile experience. Encourage them to explore different materials like glitter, foam, or fabric for decoration.
For Teens (13 and up)
Incorporate digital elements into the craft. Encourage teens to design their own dinosaur using digital tools, then print it out and add hand-drawn details. Introduce more advanced techniques like using a hot glue gun for assembling parts or working with sculpting clay for 3D effects.
How to Use the Craft for Educational Purposes
Use the craft template to teach children about dinosaurs while enhancing their fine motor skills. Start by guiding them through cutting and assembling the shapes, which helps improve hand-eye coordination and dexterity.
Learning About Dinosaurs
Incorporate lessons about different dinosaur species during the craft activity. Each letter “d” can represent a different dinosaur, offering a fun way to discuss their characteristics, names, and history. Engage students by asking questions about the dinosaurs as they work on their craft.
Enhancing Literacy and Vocabulary
Use the craft as a tool to build vocabulary. Encourage children to associate the letter “d” with words like “dinosaur,” “dome,” and “dust.” This can help reinforce letter recognition while introducing new words in a memorable way.