Letter g giraffe craft template

Looking for a fun and engaging way to teach kids about the letter “G”? A giraffe craft template is a creative and hands-on activity that blends learning with art. By using simple materials like colored paper, scissors, and glue, children can create their own giraffes while reinforcing their understanding of the letter “G”. This activity works well in classrooms or at home for young learners.
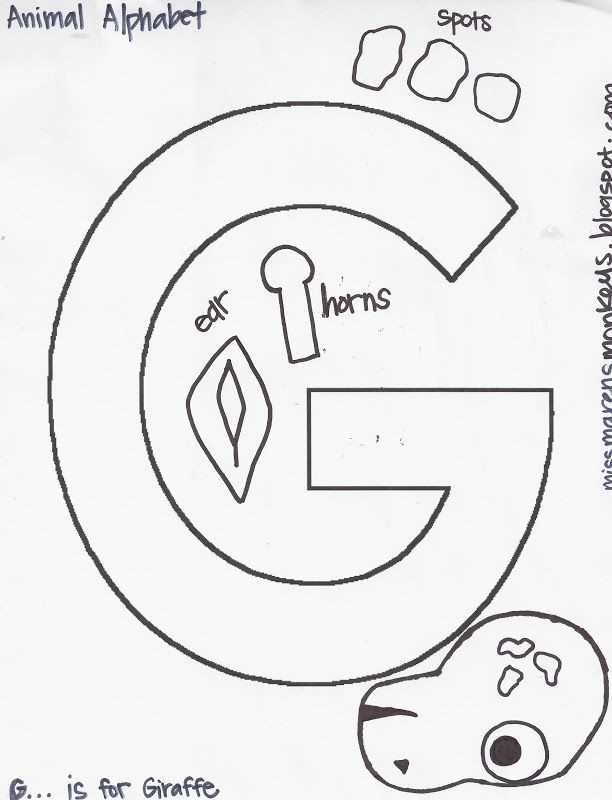
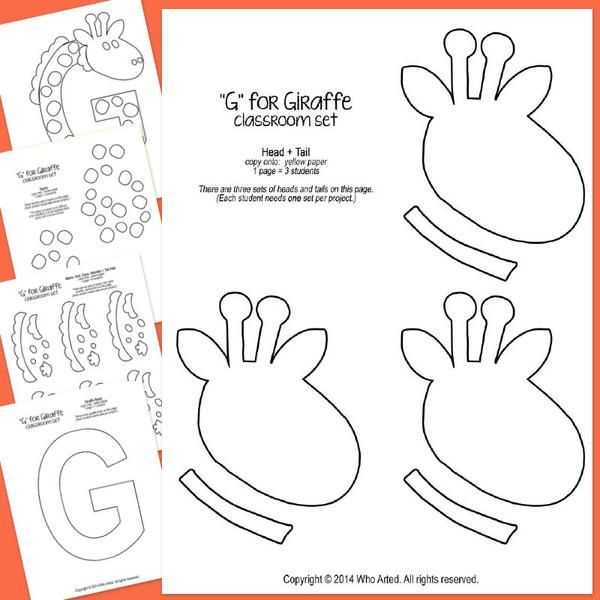
The giraffe’s long neck and unique spots offer a fantastic opportunity for children to explore shapes and patterns. Start by providing a printed template of a giraffe’s head and body, which can be easily colored in. Once the basic shape is cut out, kids can add their own designs to the giraffe, from polka dots to stripes, enhancing their fine motor skills and creativity.
This craft not only teaches the letter “G” but also encourages children to associate the letter with an animal, making the learning experience memorable. To add an educational twist, talk about giraffes and other animals whose names start with the letter “G”. You can also incorporate related activities like drawing other animals or finding “G” words in a book.
- Letter G Giraffe Craft Template
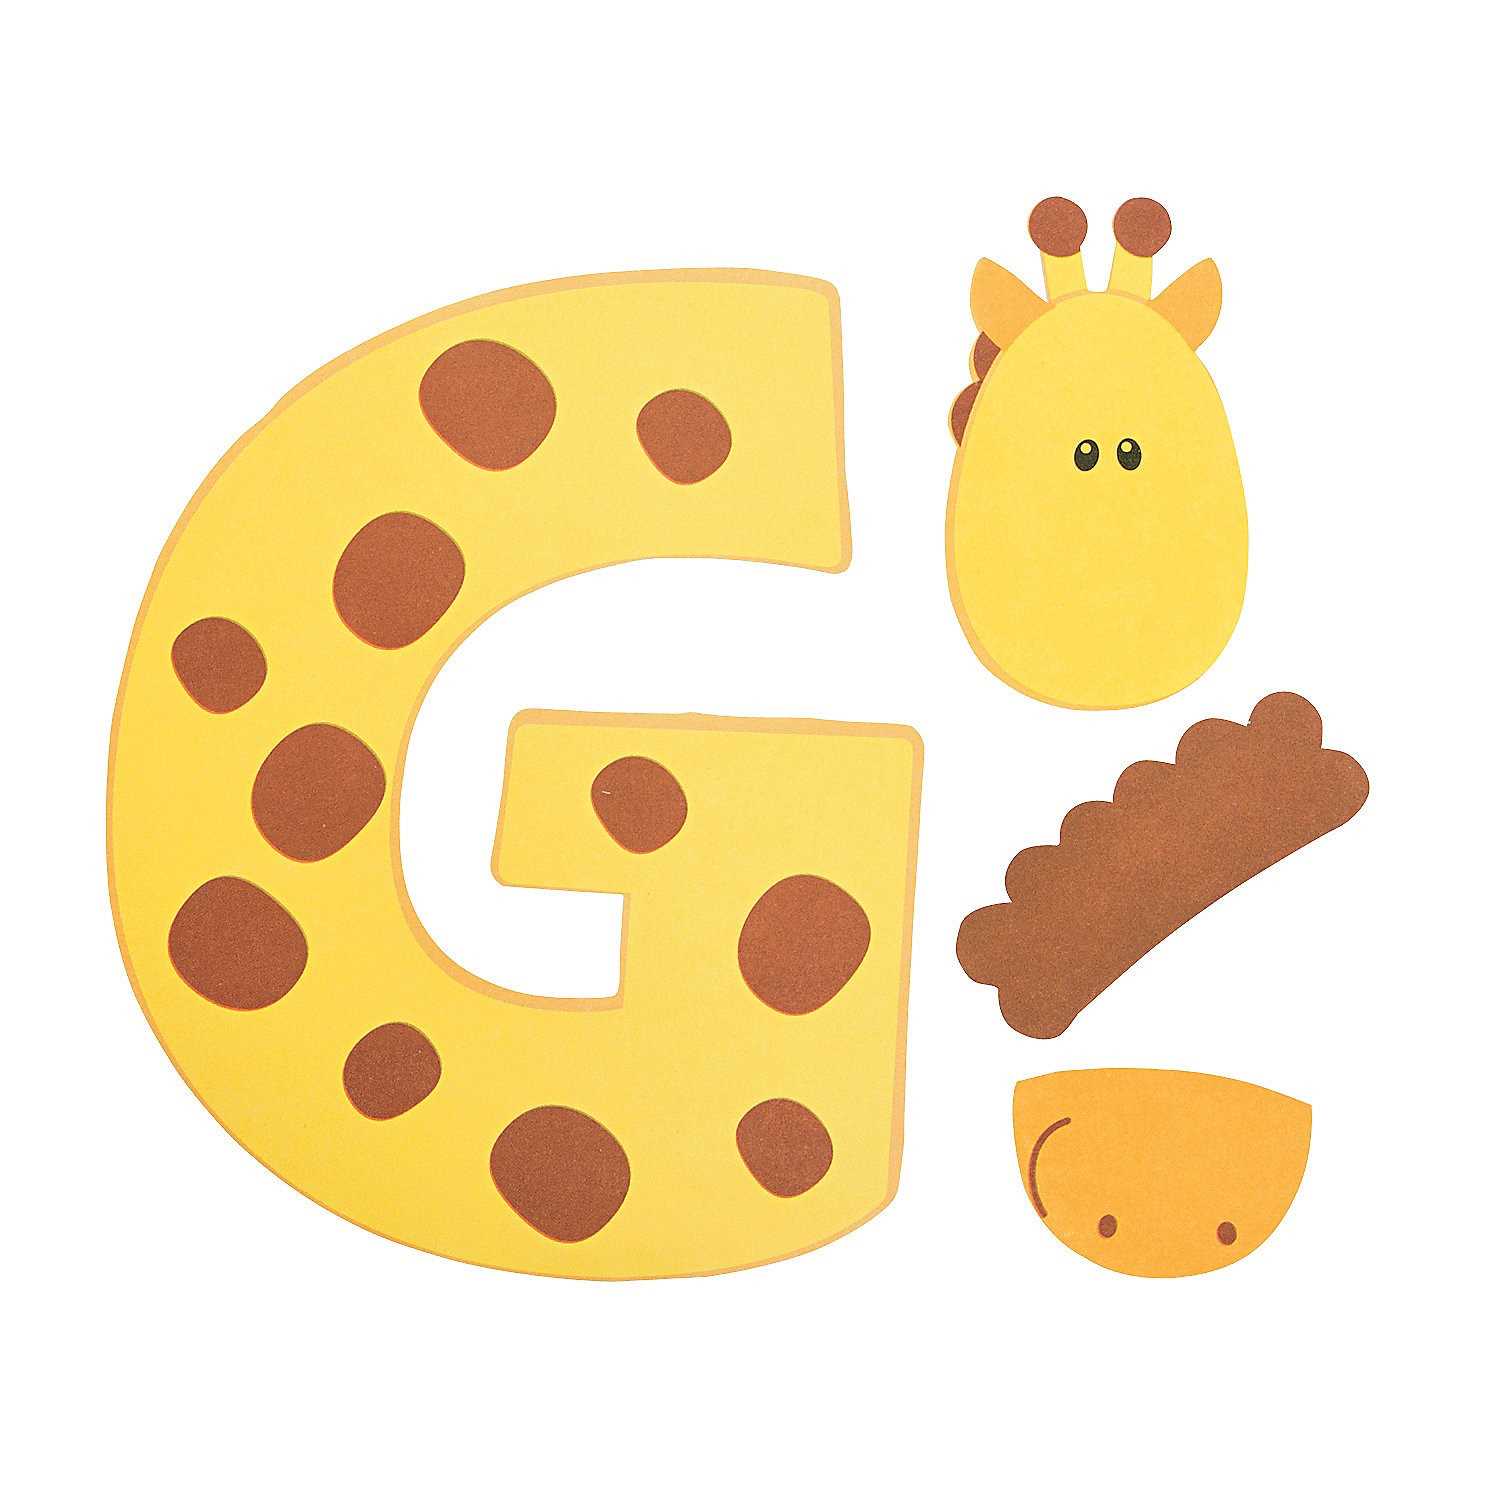
Create a fun and simple giraffe craft by using a letter “G” template. Start by printing out the letter “G” in a large, bold font. Then, turn it into a giraffe by adding neck and legs details. Use yellow and brown colors for the body, and add spots in darker shades. For the giraffe’s head, cut out a small oval shape, and attach it to the top of the “G” with glue. Draw long ears and horns on the head, and don’t forget to add a cute smile. The legs can be made from small rectangles with rounded edges, colored in brown. Position them at the bottom of the letter. Use construction paper for an easy and colorful version, or cardstock for a more durable craft. This is a fun and engaging project for young learners to practice their letter recognition while getting creative with animals.
Use sturdy cardstock for the base of the craft. This material provides a solid foundation that holds up well when cut into shapes. Choose brightly colored paper to highlight the letter ‘G’ and the giraffe design. Construction paper works well due to its range of colors and ease of cutting.
For added texture, consider using fabric scraps or felt. These materials can be cut into spots for the giraffe’s body or other decorative elements. They bring a soft touch and make the craft feel more engaging.
To add some shine and fun, glitter, sequins, or stickers are great choices for detailing. Apply these sparingly to avoid overwhelming the design but use them to accent key features like the giraffe’s eyes or spots.
Scissors with a fine tip will help make precise cuts, especially around intricate details like the giraffe’s neck and legs. A glue stick or liquid glue is ideal for securing lightweight materials, while a hot glue gun can be used for heavier or textured pieces.
Begin by printing the giraffe template on a sturdy sheet of paper. Ensure that the outline is clearly visible and ready to be cut. If you’re using a template, double-check that the size matches your preferred project dimensions.
Step 1: Cut Out the Outline

Using a pair of sharp scissors, carefully cut around the perimeter of the giraffe shape. Follow the lines closely to avoid jagged edges. Take your time with the head and neck area to ensure accuracy.
Step 2: Detail the Legs and Neck

For finer details, such as the legs and neck, you may want to use smaller scissors or a craft knife. This allows for better control and precision when navigating tight spaces. Don’t rush; accuracy here will enhance the overall look of your giraffe.
After cutting out the entire shape, smooth any rough edges with a nail file or sanding block for a polished finish. Now, your giraffe cutout is ready for decoration or assembly.
To enhance your giraffe craft, focus on adding realistic details to the spots and neck. Here’s how to approach it:
Spots
- Use irregular, asymmetrical shapes for spots to mimic the natural pattern of giraffes. Avoid perfect circles or squares.
- Vary the size and placement of the spots to create a more lifelike effect.
- Choose contrasting colors, such as brown and darker brown or black, to make the spots stand out.
- Consider adding a light shadow around the edges of the spots for depth.
Neck
- For the neck, use a long, slightly curved shape to represent the giraffe’s graceful posture.
- Add subtle shading along the neck to give the appearance of muscle tone and curvature.
- Keep the neck thinner at the top and gradually wider towards the body for a realistic look.
- Highlight areas where the neck meets the head with a soft transition to maintain a natural flow.
Experiment with colors. Use a range of vibrant paints or markers to add depth and character to your giraffe template. Mixing complementary tones or incorporating gradients can create a unique look. You can even try metallic or pastel shades for a different vibe.
Incorporate Textures

Consider adding different textures to the craft. For example, cut out patterns from fabric or textured paper and glue them onto the giraffe’s body for an interesting tactile effect. This approach adds a dynamic dimension that enhances the overall design.
Use Custom Shapes
Don’t stick to basic shapes. Cut the giraffe’s spots from unusual materials, like foam, felt, or even recycled materials. These custom shapes give the craft a personal touch that makes it stand out from standard templates.
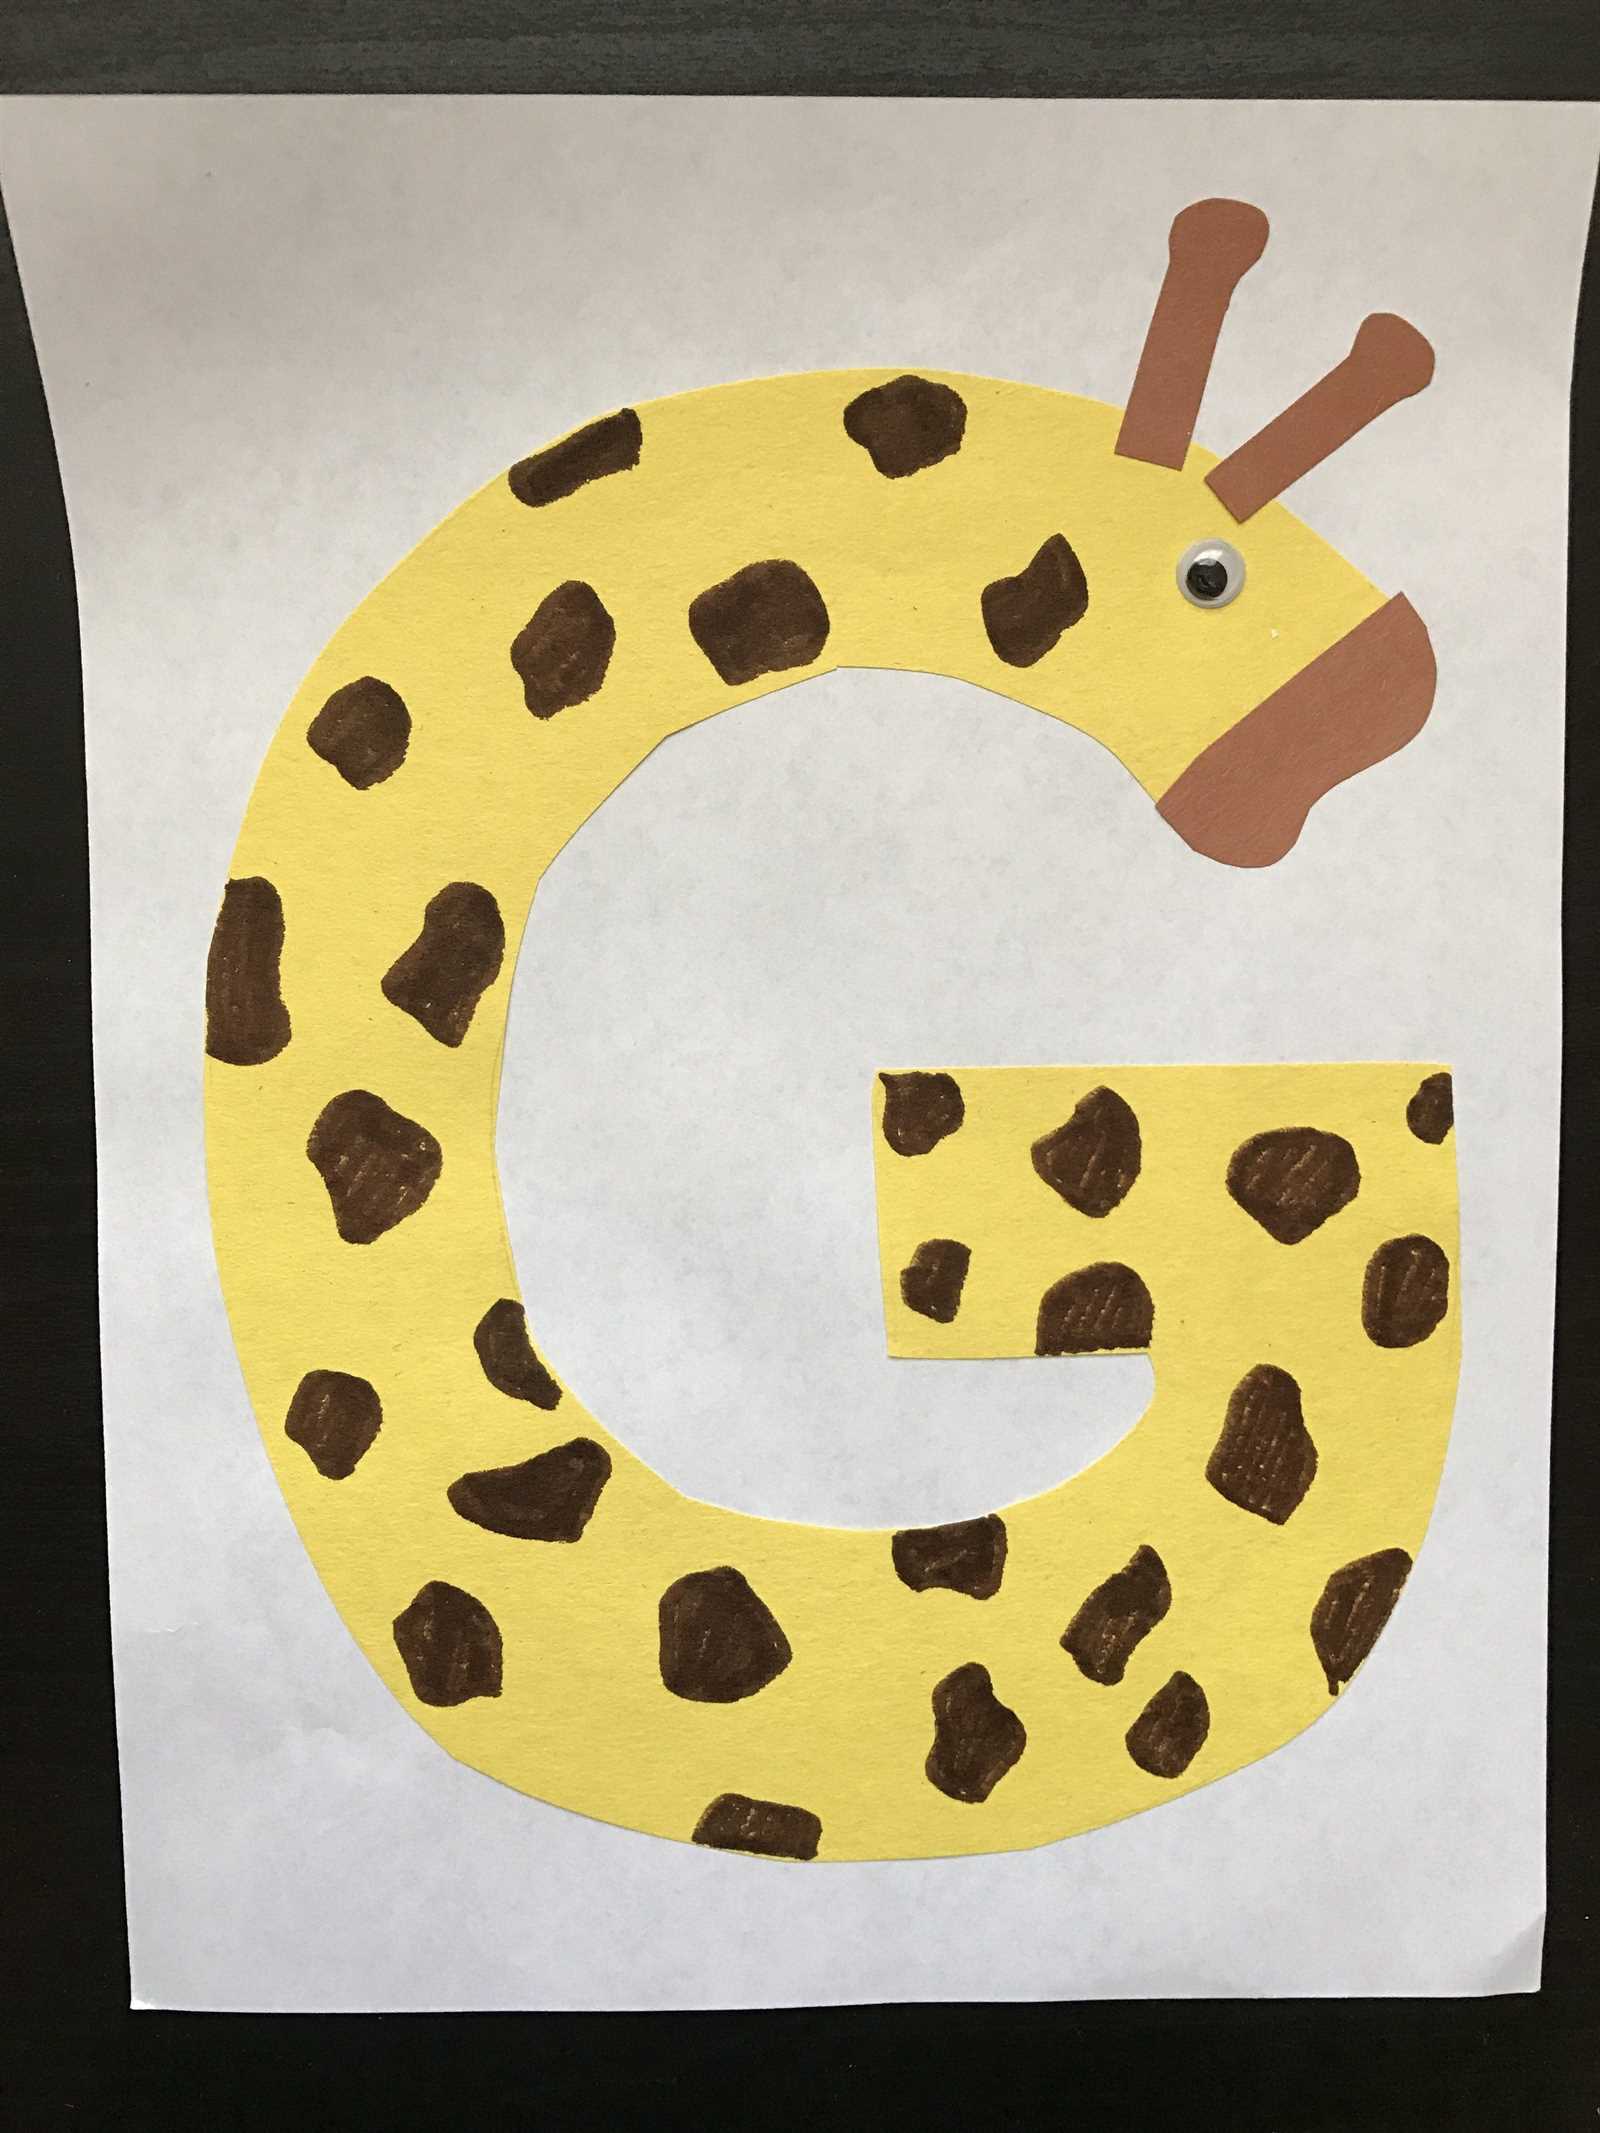
Position the letter G prominently within the giraffe template. To integrate the letter seamlessly, consider shaping the giraffe’s neck or spots in the form of the letter G. This provides a clear visual representation while maintaining the overall look of the animal. You can also use the letter G as a pattern for the giraffe’s spots, creating a connection between the letter and the design. Ensure the letter is large enough to be distinguishable but not overpowering the other elements of the craft. Try experimenting with different fonts or styles for the letter to make it blend naturally into the design without disrupting the flow.
| Design Element | Incorporation Technique |
|---|---|
| Giraffe Neck | Shape it like the letter G to create a direct connection to the design. |
| Spots | Use the letter G to form the spots, adding a creative twist to the giraffe’s pattern. |
| Letter Style | Experiment with various fonts and styles to match the giraffe’s playful nature. |
Frame the giraffe craft and hang it on the wall to add a playful touch to any room. Consider using a bright-colored frame to complement the craft’s colors. Alternatively, use string or ribbon to attach the craft to a clothesline and display it like a mini-gallery.
If you’re looking to share the creation with others, take a photo and send it to friends or family via email or social media. This way, the artwork can be admired from anywhere. You can also create a small display on your desk or in a designated craft corner, where visitors can see the work up close.
For a more interactive display, create a “craft corner” with a rotating collection of different projects, including the giraffe craft. This can be an engaging way to showcase the creativity of everyone involved.
Consider using the giraffe craft as a gift. It can make for a unique and personal present, whether framed or presented as part of a craft-themed gift basket. This is a great way to share creativity with loved ones.
For a fun and engaging “Letter G Giraffe” craft, begin by cutting out the shape of a giraffe’s head and neck from yellow or brown paper. Add spots to the body using brown or orange circles, and carefully draw the long neck with simple lines. Glue the letter “G” on the giraffe’s neck for an educational twist. You can also use googly eyes to bring personality to your giraffe. When assembling, ensure each piece is positioned neatly to enhance the craft’s clarity and design. Use markers or crayons for additional details like facial features or a mane. This craft is simple to make and ideal for young learners, offering both artistic and alphabet learning opportunities.