Personal letter template word
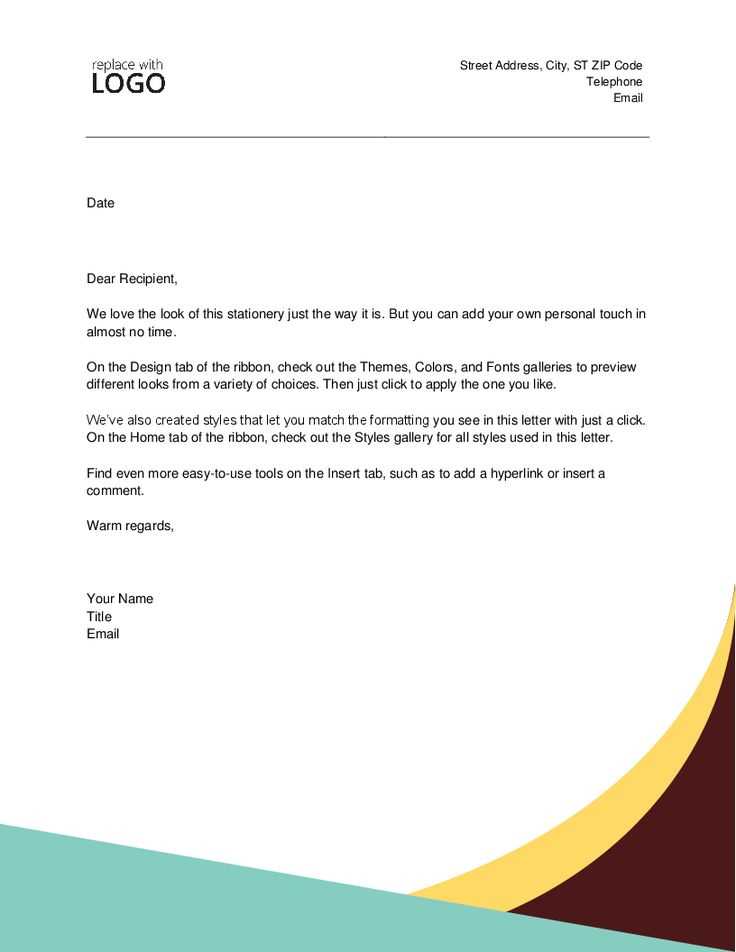
If you need to write a personal letter, using a template in Word can save you time and ensure a professional layout. Word offers several customizable templates, allowing you to quickly create a letter with proper formatting. The key is to choose a template that suits the purpose of your letter, whether it’s formal or informal, and personalize it to fit your needs.
Start by opening Microsoft Word and searching for personal letter templates. You’ll find various designs, ranging from simple and clean to more detailed layouts. Choose one that aligns with the tone and context of your message. Once selected, you can modify the content, replacing placeholders with your information.
Make sure to adjust the letter’s details, such as the recipient’s name, your contact information, and the body of the letter. Add a personal touch by adjusting the salutation and closing phrases to match your relationship with the recipient. Word’s user-friendly features, like text boxes and alignment tools, allow you to customize the letter’s appearance easily.
Using a template not only ensures consistency in your document’s structure but also makes it easier to maintain a professional format without spending time on design. It’s a straightforward way to create polished personal letters without unnecessary effort.
Personal Letter Template for Word: A Practical Guide
Creating a personal letter in Word becomes much easier with a reliable template. You can streamline the writing process and ensure that your letter looks neat and professional without spending too much time on formatting. Below is a straightforward approach to using a template for personal letters.
Steps to Use a Personal Letter Template in Word
First, open Microsoft Word and go to the “File” tab. Select “New” and type “personal letter” into the search bar. You’ll find several templates designed for personal correspondence. Choose one that suits your needs and click “Create” to open it. These templates already have preformatted sections like your contact information, the recipient’s address, and the letter’s body. You simply need to fill in the specific details.
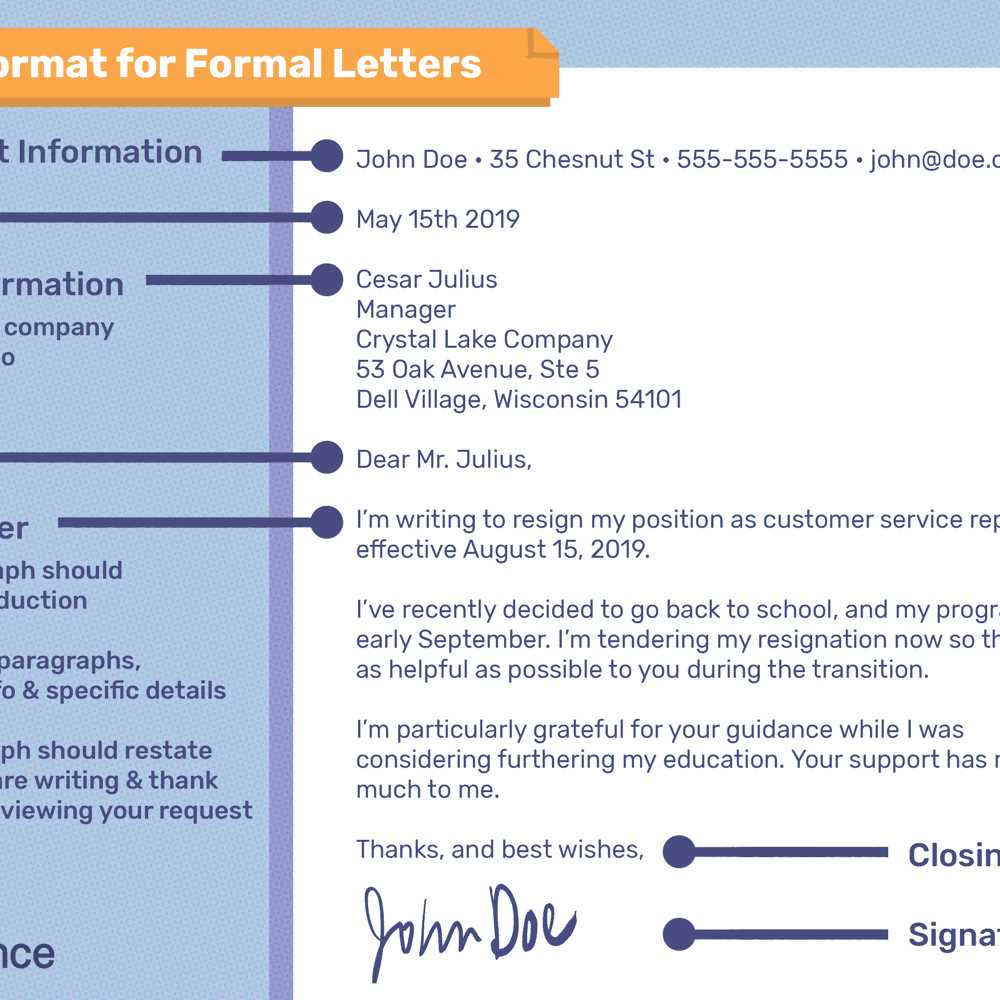
Pay attention to the structure. A personal letter typically includes the following sections:
| Section | Description |
|---|---|
| Sender’s Address | Include your full name and address, usually at the top-left corner. |
| Date | Place the date below your address, aligned with the left margin. |
| Recipient’s Address | Include the recipient’s name and address before the salutation, aligned to the left. |
| Salutation | Use a friendly but respectful greeting such as “Dear [Name].” |
| Body | Provide the content of the letter, divided into paragraphs for clarity. |
| Closing | End with a polite closing like “Sincerely” or “Best regards,” followed by your signature. |
Customization Tips
Once you’ve selected a template, don’t hesitate to modify it to match your style. Adjust the font size and type if needed, but maintain readability. You may also want to personalize the letter’s tone based on your relationship with the recipient, whether formal or casual. Always make sure the content is clear and to the point, with no unnecessary fluff. Keep it simple but thoughtful.
By using a personal letter template in Word, you save time while ensuring your message is well-organized and visually appealing. Whether you’re writing to a friend, family member, or colleague, these templates provide an easy framework for effective communication.
Choosing the Right Template for Your Purpose
Start with clarity about your goal. If the letter is personal, choose a friendly, informal template. For a formal letter, select one with a clean, professional design. Think about the tone you want to set–whether it’s casual or respectful. A formal letter template will typically have more structured formatting, while personal letters can be more flexible and creative.
Consider the recipient’s preferences. If you’re writing to a friend, a lighthearted or handwritten-style template could work well. For professional contacts, use a template that includes sections for contact information, a clear introduction, and a formal closing. Make sure the template allows you to customize content without being overly rigid.
Also, check the layout and design elements. Some templates may include extra spaces for personal notes or address details, which could help make your letter stand out. Look for simplicity and balance–overly decorated templates can distract from the message. Keep the design clean to ensure that the content remains the focal point.
Don’t forget to review the font style and size. Choose fonts that match the tone of your letter. For formal letters, fonts like Times New Roman or Arial work well. For personal letters, more relaxed fonts like Comic Sans or a cursive style may create a warmer feel.
How to Customize Personal Letter Templates in Word
Open the template you want to modify in Microsoft Word. Begin by adjusting the default text fields to match your needs. Click on any placeholder text and replace it with your own content, such as names, dates, and addresses.
Next, change the font style and size. Highlight the text and select your preferred font from the top toolbar. You can also modify the spacing and alignment by selecting the text and using the paragraph formatting options.
If the template includes a header or footer, click on those sections to edit them. You can add or remove information like your contact details or the recipient’s information. This helps personalize the letter further and adds a professional touch.
For an extra layer of personalization, adjust the layout. Resize or move text boxes and images to fit your letter’s design. You can use the drag-and-drop method for easy placement of elements.
Lastly, save your customized template as a new file. This ensures you can reuse the personalized version without modifying the original template again. Simply click “Save As” and choose a new name for your file.
Adding a Personalized Touch: Fonts and Layout Adjustments
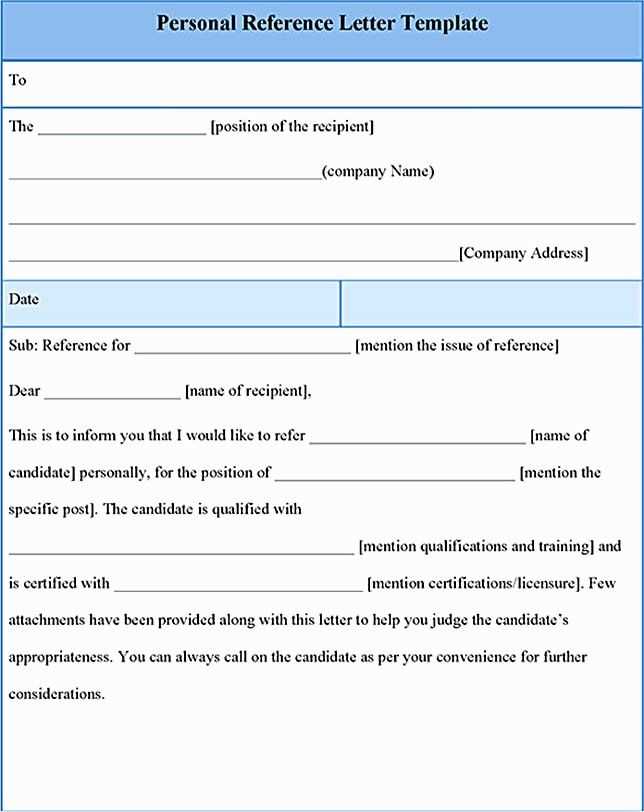
Choose a font that reflects the tone you want to set. A more formal letter benefits from classic fonts like Times New Roman or Georgia, while a friendly, informal letter can shine with Arial or Calibri. Consider using a bold font for your name or header to make key elements stand out.
Adjust line spacing and margins to enhance readability. Use 1.15 or 1.5 line spacing for a cleaner, more open layout. This simple change can improve flow and make the letter feel less cramped. Keep margins between 1 inch on all sides, but feel free to tweak them slightly if you need to fit more text without overcrowding the page.
When placing your name and the recipient’s information, try aligning them to the left for a formal look, or center-align them for a more personalized touch. The key is consistency–keep your alignment choices uniform throughout the document.
Incorporate subtle touches like italics to highlight important points or colored text for emphasis, but don’t overdo it. Stick to one or two color choices that match the tone of your letter, ensuring it still feels cohesive.
Best Practices for Addressing and Formatting Dates
Use a consistent format throughout your document. Stick to one style to avoid confusion and ensure clarity. Choose the format that suits the context and audience, such as “Month Day, Year” (e.g., February 2, 2025) for formal writing, or “Day Month Year” (e.g., 2 February 2025) for European conventions.
1. Use Full Month Names
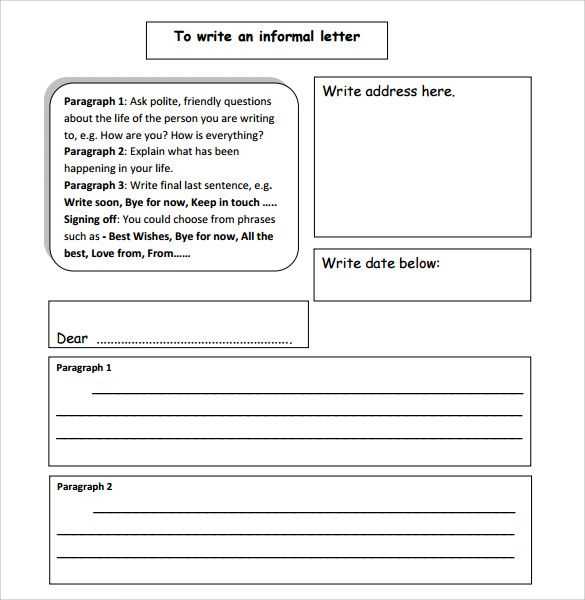
Whenever possible, use full month names instead of abbreviations. This makes the date clearer and avoids potential misunderstandings. For example, write “January” rather than “Jan”.
2. Avoid Overcomplicated Formats
Stick to simple and widely accepted formats. Avoid using uncommon date styles, such as “02-02-2025” or “2025/02/02”, unless necessary for specific purposes like databases or file naming conventions.
3. Ensure Consistency with Date Placement
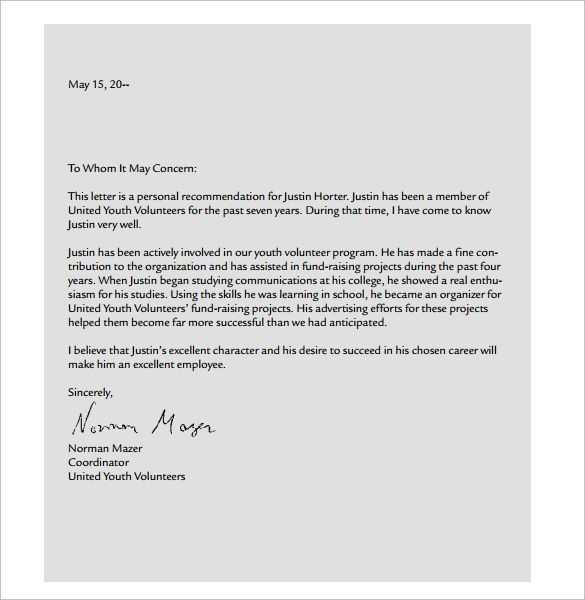
Always place the day first, followed by the month, and then the year. This structure makes it easier for readers to quickly understand the date in the format they are accustomed to.
4. Check Local Conventions
When addressing international audiences, be mindful of regional differences. The format “Month Day, Year” is typical in the U.S., while many European countries prefer “Day Month Year”. Use the format that aligns with your reader’s expectations.
5. Use the Correct Punctuation
When writing dates in text, use commas to separate the day and year. For example, “February 2, 2025”. Do not add unnecessary punctuation such as slashes or hyphens unless required.
6. Be Clear with Time Zones
If your letter involves multiple time zones, always specify the time zone alongside the date. For example, “February 2, 2025, 10:00 AM PST” helps avoid confusion.
7. Consider Digital Formats
For emails and digital documents, you may need to follow ISO standards like “YYYY-MM-DD” (2025-02-02) for easy readability in technical contexts. However, for personal letters, sticking to a more traditional format is usually preferred.
Creating Space for a Signature and Closing Remarks
Leave enough space at the bottom of your letter to provide room for your signature and any closing remarks. Typically, this space should be around 4–5 lines long, depending on the length of your letter and your signature’s size. If your letter includes a printed name below the signature, ensure that it sits neatly below the signature space.
Steps for Preparing the Space
- Leave at least 1.5–2 inches from the end of your last paragraph to the bottom of the page for the signature.
- Place your closing remarks (e.g., “Sincerely,” “Best regards”) directly above the signature space, ensuring it’s left-aligned and clear.
- If including your title or position, do so right under the closing remarks, but ensure it’s in smaller font or italicized for distinction.
Tips for Clean Presentation
- Ensure your closing remarks and signature space align with the margins of the document for a clean, professional appearance.
- Leave adequate space between the closing line and the signature to prevent it from feeling crowded.
- If printing and signing manually, ensure the signature area is free of any text or marks.
Saving and Printing Your Personal Letter with Word
After completing your personal letter, save it in a preferred format by clicking on “File” and then “Save As.” Choose a location on your computer or cloud storage service. If you need a specific file format, select from options like .docx, .pdf, or .txt before clicking “Save.” Make sure to name your document clearly for easy access later.
To print your letter, open the saved file and go to “File,” then select “Print.” In the print settings, choose the printer and check that the page layout is correct. If you’re unsure, you can use the “Print Preview” option to review how the letter will look on paper. After adjusting settings such as paper size and margins, click “Print” to finalize the process.
For extra copies or specific formatting, you can customize the number of prints or pages per sheet before proceeding with the print job. Double-check your printer’s connection to avoid interruptions during the process.