Letter format word template
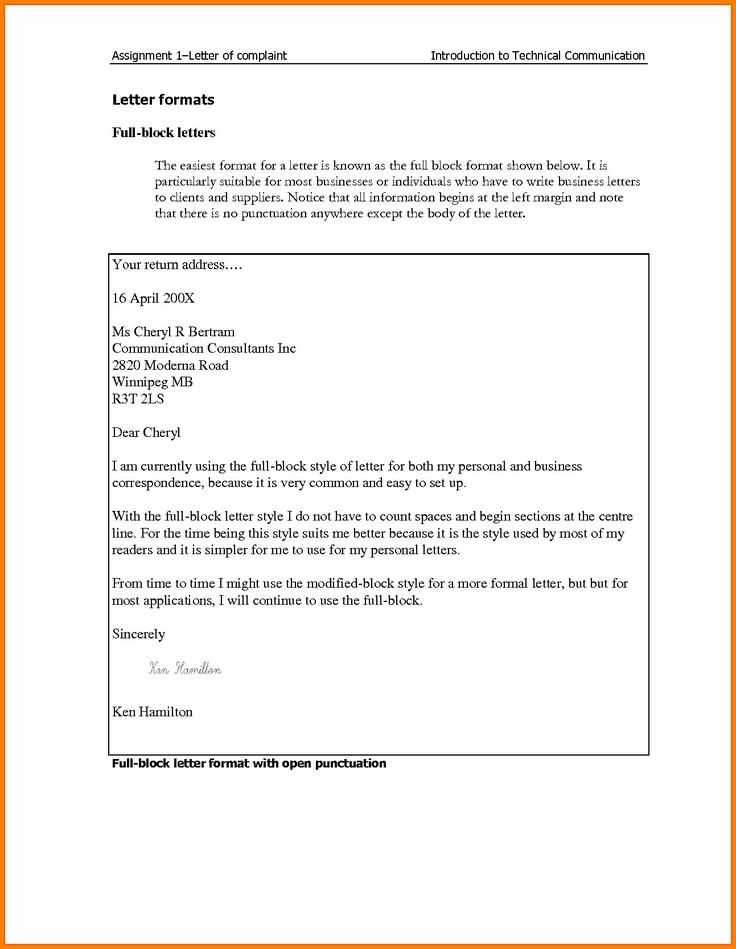
Using a Word template for letter formatting streamlines the process and helps maintain consistency. Choose a template that fits the purpose of your letter–whether it’s formal, business-related, or personal. Templates provide predefined structure, making it easier to focus on the content itself rather than layout adjustments.
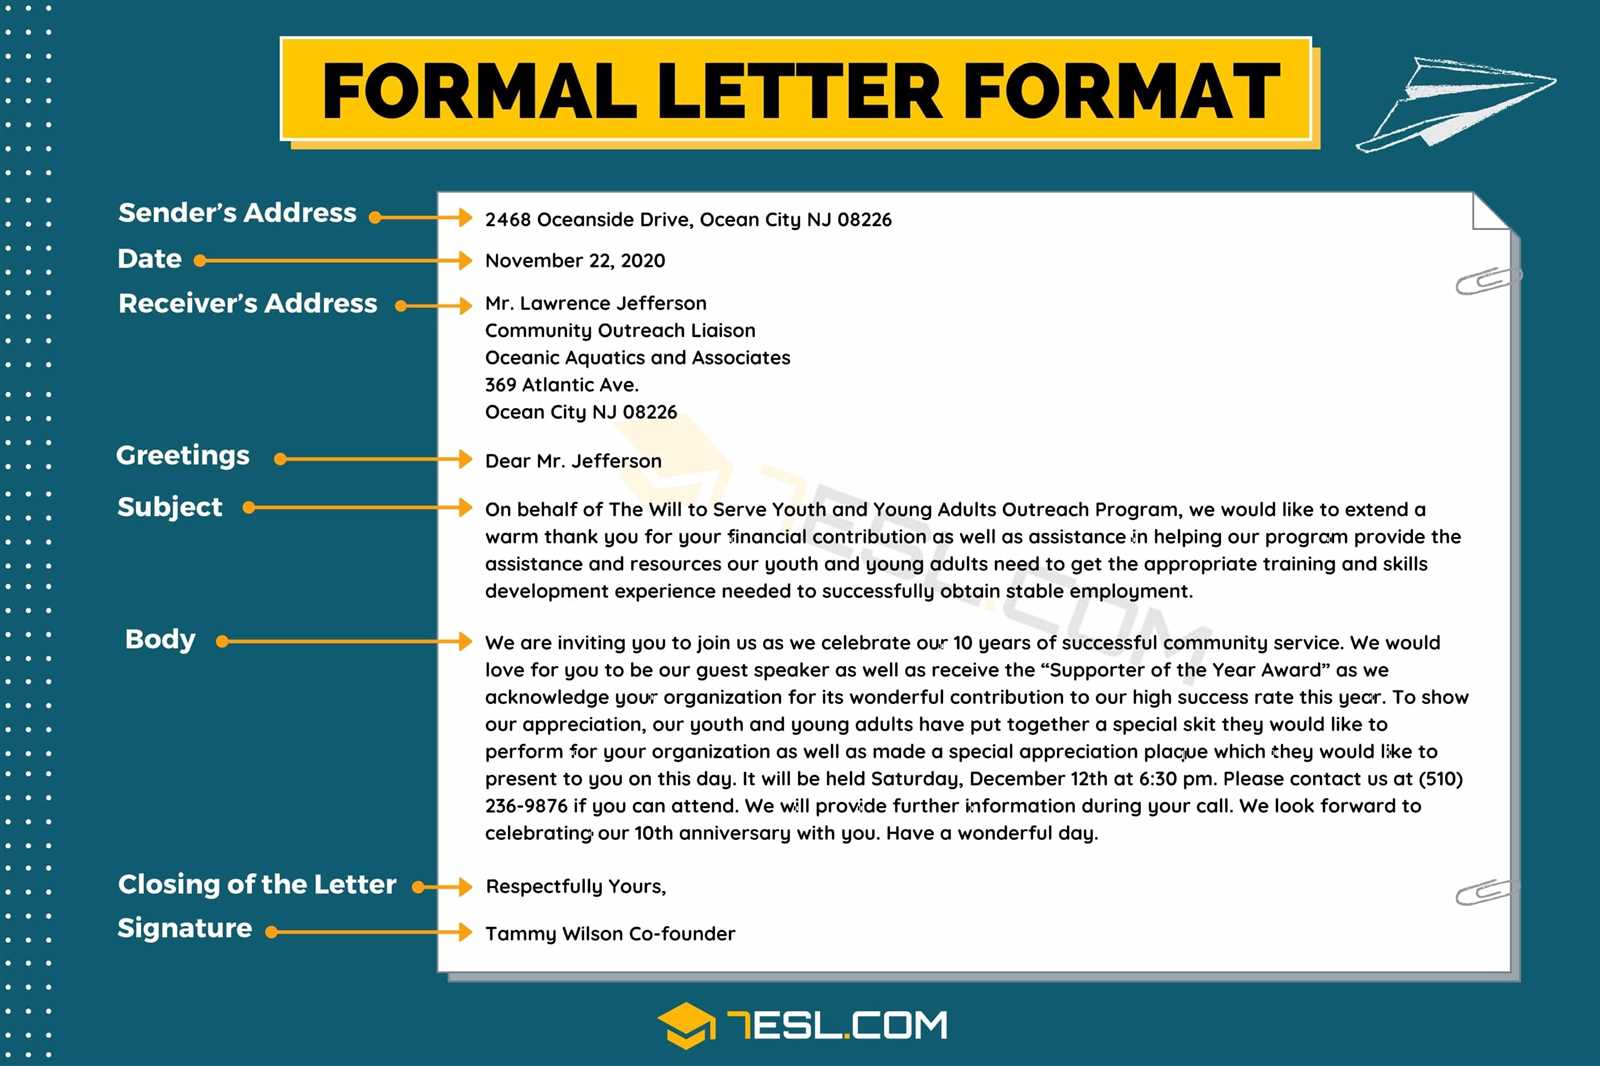
After selecting the template, personalize it with your details: add your address, date, recipient’s information, and subject. Keep the formatting uniform by using the correct fonts, margins, and spacing. Adjust the tone of your message to suit the type of letter you’re writing, ensuring that it aligns with your goals.
Make sure to review the template layout after filling in the content. A simple check for alignment and consistency can make a noticeable difference in the presentation of your letter. Using a template as a guide ensures your letter looks polished and professional every time.
Choosing the Right Template Style
Pick a template that aligns with your purpose and tone. A clean, professional design works best for formal letters, while a more creative style suits personal or informal communication. Match the template to the content; a business proposal benefits from clear sections and bold headings, while a thank-you letter thrives with a warm, personal touch.
Consider the Audience
Your template should cater to who will read the letter. For corporate or academic correspondence, go for templates with minimal embellishment and a strong focus on readability. Personal letters can be more flexible, with soft colors and customized fonts adding a personalized feel.
Functionality vs. Aesthetics
Don’t sacrifice functionality for design. Ensure the template you choose supports the intended message clearly. Keep formatting simple–avoid cluttered layouts that distract from the message. If you want to add visual appeal, choose subtle design elements, such as borders or dividers, that enhance, rather than overshadow, the text.
How to Customize Letter Templates in Word
To begin, open Microsoft Word and select a letter template from the available options. These templates often include predefined styles for headers, footers, and body text, making it easy to adjust the document to your needs.
Modify Text and Fonts
Click on the text fields to update them with your own content. You can change the font style, size, and color through the “Home” tab. Highlight the text you want to adjust, then choose your preferred font from the dropdown menu. This step ensures the letter matches your desired tone and style.
Adjust Margins and Layout
If the default layout doesn’t suit your preferences, go to the “Layout” tab and modify the margins, page orientation, or alignment. Adjusting the layout gives you more control over the document’s appearance, especially for longer letters or when you need to fit additional content.
For further personalization, consider adding your company’s logo or a custom signature. Use the “Insert” tab to add images or shapes that complement the letter’s design. This allows you to personalize the document without disrupting the overall structure.
Aligning Text and Margins for a Professional Look
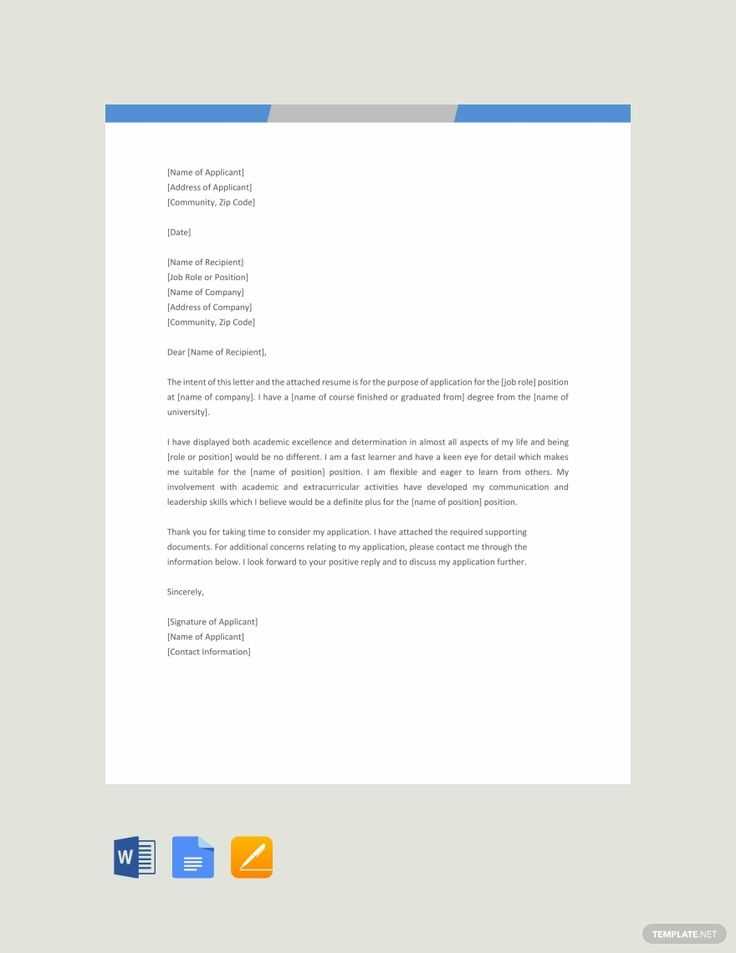
Use consistent alignment throughout your document to create a polished appearance. Centered text works well for headings but should be avoided in body content, as it can disrupt readability. Left alignment is the go-to choice for most professional correspondence and documents. This keeps text easy to follow and gives the content a structured look.
Next, adjust margins to frame the text properly. Standard margins (1-inch on all sides) offer a clean, balanced layout for most documents. If the content is dense or you need to fit more on a page, consider reducing the margins slightly, but avoid going below 0.75 inches to maintain a formal look.
To further refine the layout:
- Use the ruler tool in your word processor to check and adjust margins for precision.
- Ensure that the alignment of headings matches the body text to maintain visual coherence.
- For formal letters, always leave room at the top for your address and the recipient’s, and avoid tight spacing around the text.
Properly aligned text and well-set margins enhance the professionalism of your document, ensuring it looks clean and is easy to read.
Adding and Formatting Your Signature
To insert your signature, place the cursor where you want it in the document. Open the “Insert” tab, then select “Signature Line” or “Text Box” depending on your preference. For a simple handwritten signature, you can scan and paste it as an image or use the drawing tool in some word processors.
For a text-based signature, type your name, title, and any other details. Make use of the font options to match your style. You can adjust the font size, weight, and style to create a distinctive look. Consider using a cursive font for a handwritten feel, or a bold typeface for a more professional tone.
If you want to align your signature consistently across documents, consider saving it as a template. You can do this by selecting the signature and saving it as part of your quick parts or auto-text library. This allows you to reuse the same signature across future documents without needing to reformat it.
For more advanced formatting, experiment with adding colored text, using underline or italics, and adjusting spacing between the lines. Ensure that your signature looks clean and clear, especially when you are including contact information or job titles.
Saving and Reusing Letter Templates
Save letter templates by selecting “Save As” in Word and choosing a location on your device or cloud storage. Use clear file names, like “Formal Letter Template” or “Cover Letter Draft,” for easy identification. Opt for the “.dotx” format, which is specifically designed for templates, ensuring the document remains in template mode when reopened.
Reusing templates is straightforward. Open the saved template, and avoid overwriting it by selecting “New” in Word and choosing your template from the available options. You can quickly update content while keeping formatting and structure intact, saving you time on each new letter.
For easy access, create a dedicated folder or save the template in a cloud service like OneDrive. This way, you can use it across different devices, ensuring your templates are always available when needed. Periodically review and update templates to ensure they remain relevant and clear.
Common Mistakes to Avoid When Using Templates
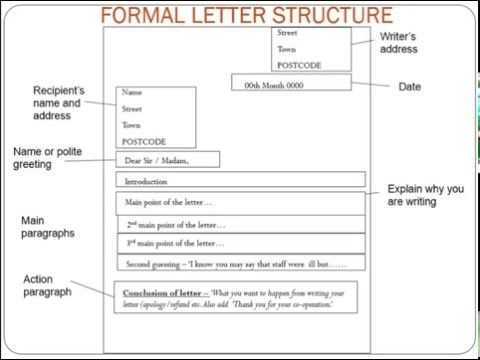
Be mindful of adjusting template content to fit your specific needs. Many users forget to customize default text and formatting, resulting in a generic final product. Always tailor the content to suit the intended recipient or purpose.
1. Ignoring Formatting Consistency
When using a template, ensure that the font styles, colors, and alignment are consistent throughout the document. Mismatched elements can create a disorganized appearance, detracting from the professionalism of the letter. Stick to a uniform format for headers, paragraphs, and signatures.
2. Overlooking Personalization
Templates offer convenience, but they should not replace personalization. Avoid using default placeholders like “Dear Sir/Madam” or “To whom it may concern” unless absolutely necessary. Customize the greeting and message to make the letter feel more personal and relevant to the recipient.
3. Not Double-Checking for Errors
Even though templates help streamline the process, they still require careful proofreading. A common mistake is skipping a review of the final draft, which can lead to overlooked typos or incorrect information. Always proofread the document before sending.
4. Forgetting to Adjust Margins and Spacing
Templates often come with predefined margins and line spacing, but they may not suit your document. Adjust the layout to ensure it fits the page and maintains readability. Proper spacing improves the clarity of your message.
5. Relying Too Heavily on Templates
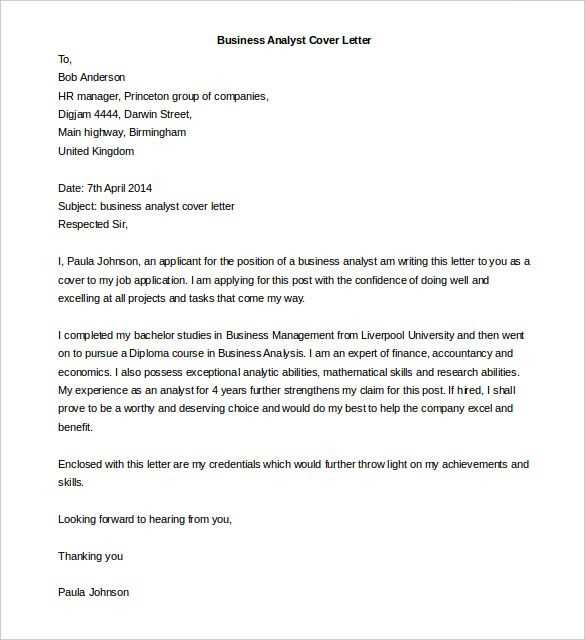
While templates can be a helpful starting point, don’t depend on them entirely. Relying solely on templates can result in a lack of originality. Use the template as a guideline, but make sure to add your unique touch for a more authentic outcome.
6. Neglecting to Update Contact Information
If the template includes placeholders for contact details, make sure they are up-to-date. Old phone numbers or email addresses can cause confusion and hinder effective communication.
7. Using Too Many Templates
Using too many templates for different occasions can make your communications feel impersonal and disconnected. Stick to one or two well-designed templates and modify them as needed for various situations.
| Mistake | Solution |
|---|---|
| Ignoring formatting consistency | Ensure uniform font styles, colors, and alignment throughout the document. |
| Overlooking personalization | Customize the greeting and message to make it more relevant to the recipient. |
| Not double-checking for errors | Proofread the document before sending to avoid typos or incorrect information. |
| Forgetting to adjust margins and spacing | Modify margins and spacing to ensure proper layout and readability. |
| Relying too heavily on templates | Use templates as a guideline, but add your personal touch for authenticity. |
| Neglecting to update contact information | Verify that all contact details are current and accurate. |
| Using too many templates | Limit the number of templates used to avoid impersonal communication. |