Personalized hogwarts acceptance letter template
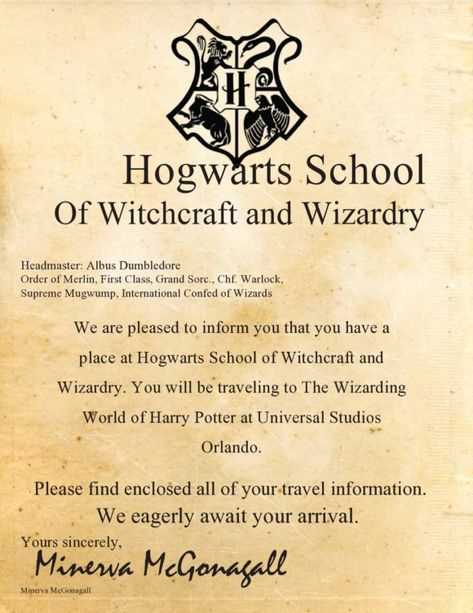
If you’re looking to create a truly magical experience, a personalized Hogwarts acceptance letter is the perfect way to make someone feel like they’ve received an invitation to one of the most famous wizarding schools in the world. Customize each detail to make it feel authentic, from the wording of the letter to the design and the seal. This approach adds a personal touch that will leave a lasting impression.
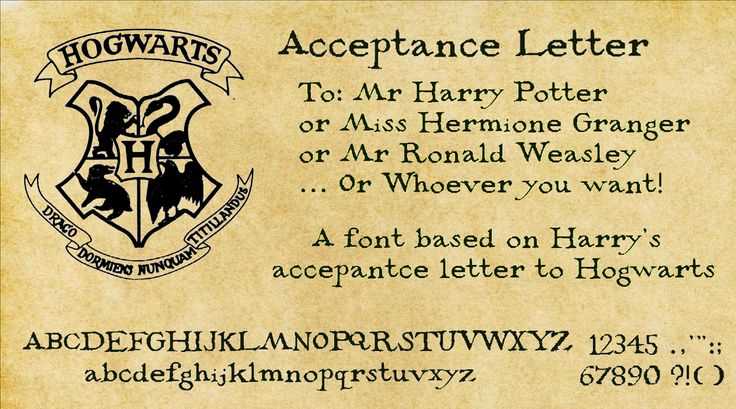
Start with choosing the right paper–go for something that feels old and textured, much like parchment. You can easily find aged or antique paper online or create a similar effect at home with tea or coffee staining. For an added touch of realism, try printing the letter in a font that mimics old handwriting, or use a classic script font that evokes the magic of a bygone era.
The next step is the content. Begin with a formal salutation, addressing the recipient by their full name. Be sure to include the date and the Hogwarts seal or crest to enhance the authenticity of the letter. Make it clear that the recipient has been accepted to Hogwarts, and provide details on their house placement, as well as a list of required materials. Remember, the letter should reflect the excitement and grandeur of receiving an invitation to such a prestigious school.
Don’t forget the final details–such as the signature of a fictional Hogwarts staff member, and consider adding an extra touch, like a wax seal or ribbon. These small elements elevate the overall feel and make the letter more believable. By carefully personalizing each part, you can create a truly unforgettable experience that will make the recipient feel like a part of the magical world of Harry Potter.
Personalized Hogwarts Acceptance Letter Template
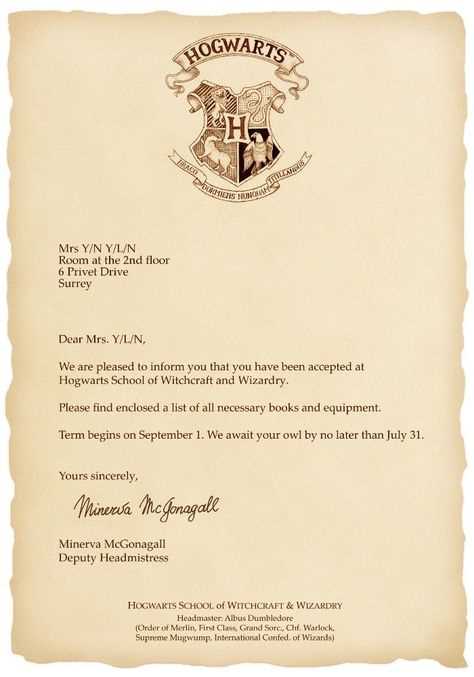
Design your personalized Hogwarts acceptance letter with a unique touch by including details that make it stand out. Start by using high-quality parchment-style paper for a realistic feel. Add the Hogwarts seal at the top, ideally in wax or a printed image of the crest to make it authentic. Ensure that the font resembles the one seen in the official letters, such as a serif style with a slightly magical flair. Choose a color for the text that mimics the old-fashioned ink used for traditional letters.
Letter Layout and Structure
Begin with the name of the recipient in bold, large letters at the top of the page, followed by the official Hogwarts header, which reads: “Hogwarts School of Witchcraft and Wizardry.” Below, write a formal salutation such as “Dear [Name],” then continue with the introductory paragraph welcoming the student to the school and mentioning their acceptance. The main body should highlight the details of their magical education, including instructions about the required supplies and when the train departs for Hogwarts.
Customizing the Message
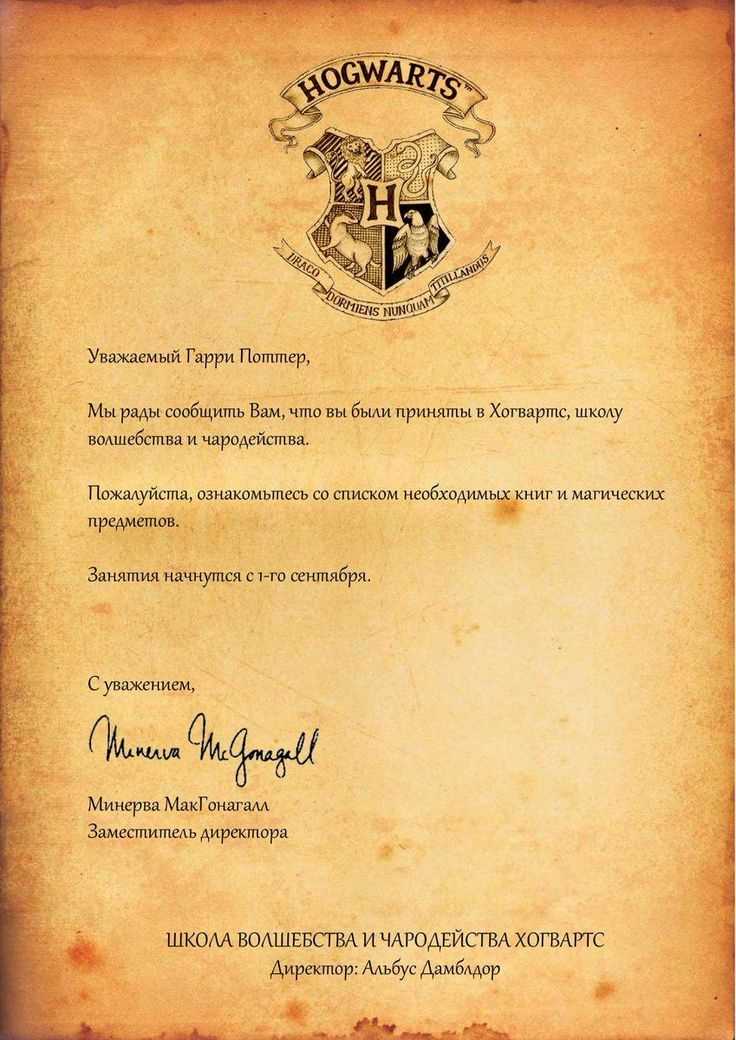
Make the letter even more personalized by adding specific details. For example, instead of a generic “We are pleased to inform you that you have been accepted,” opt for a more tailored message, such as: “We are delighted to welcome you, [Name], to our magical family at Hogwarts.” You can also include unique references to their magical traits or background. End with an official signature from Professor McGonagall or another well-known Hogwarts figure to maintain the illusion of authenticity.
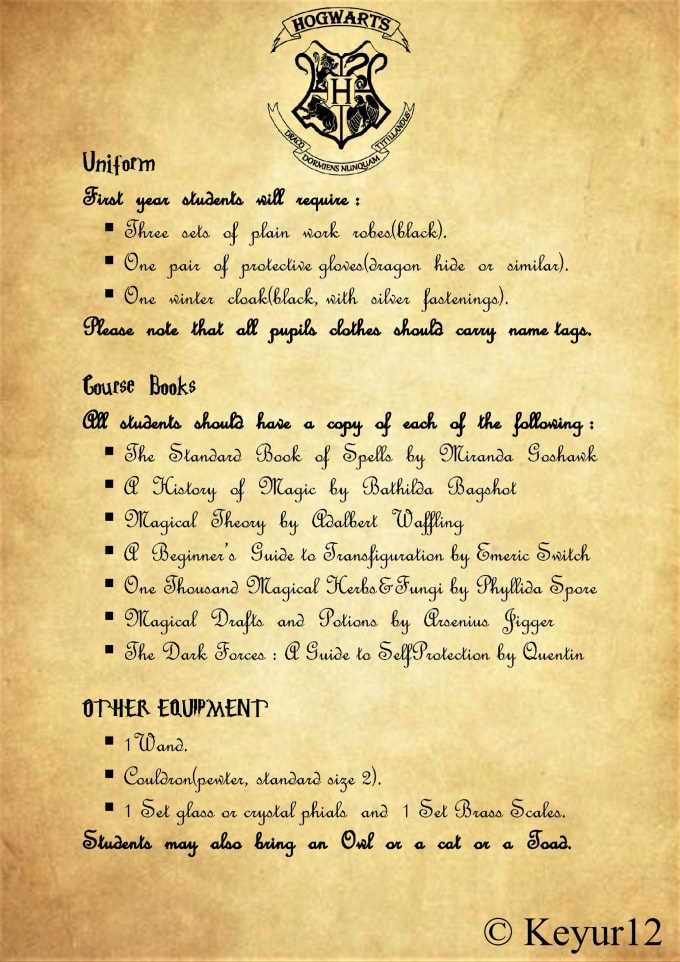
Lastly, finish the letter with an invitation to Diagon Alley for shopping and provide instructions for the trip to the Hogwarts Express. This extra detail will make the recipient feel even more like they are about to start a real magical adventure.
Choosing the Right Paper for Your Letter
Choose a high-quality, textured paper to create an authentic, magical look for your Hogwarts acceptance letter. Opt for parchment-style paper or aged paper, which mimics the feel of ancient scrolls. The paper should have a slight weight to it, giving it a substantial feel that enhances the experience of receiving the letter.
Consider the Paper’s Texture
Textures such as linen or laid provide a more classic, sophisticated look. These types of paper can give the letter a traditional, historical appearance, perfect for your Hogwarts theme. A rougher texture helps to evoke the feeling of something that has been crafted by hand, which is fitting for a letter from the wizarding world.
Color and Weight Matter
Aged cream, ivory, or off-white are the best colors for an authentic touch. Bright white may look too modern and distract from the illusion. As for weight, select paper with a weight of around 80-100 gsm to ensure it feels durable yet remains easy to fold and seal.
Designing the Header and Hogwarts Seal
For a personalized Hogwarts acceptance letter, the header and seal should set the tone for the magical experience. Begin by selecting a font that evokes the classic Harry Potter aesthetic–something elegant yet legible, with a touch of grandeur. The header, “Hogwarts School of Witchcraft and Wizardry,” should be centered at the top of the page. Choose a serif font with a formal look, like Times New Roman or a similar vintage typeface. Make it bold for emphasis, as if the letters themselves were enchanted.
Creating the Hogwarts Seal
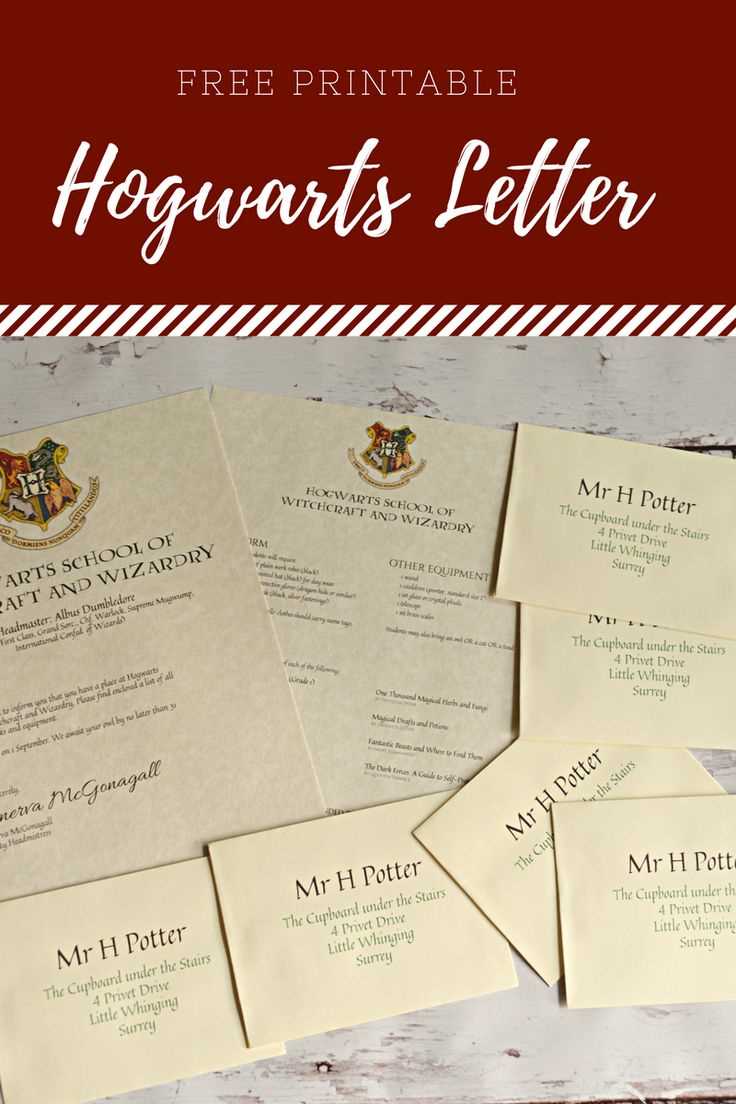
The Hogwarts seal is an iconic part of the letter. To design it, you’ll need to incorporate the four house crests–Gryffindor, Hufflepuff, Ravenclaw, and Slytherin–arranged in a shield-like shape. The house crests should be detailed but not overly intricate, maintaining clarity when scaled down. Aim for a classic color scheme: gold, red, green, blue, and black. For the border, use a circular design with the words “Draco Dormiens Nunquam Titillandus” (“Never Tickle a Sleeping Dragon”) in Latin, a phrase from the original seal.
Placement and Final Touches
Position the seal directly below the header, ensuring it’s large enough to catch the eye but not overwhelm the text. To give it a magical touch, consider adding a wax seal effect at the bottom of the letter. This could be created digitally or physically, providing an authentic and tactile feel. For a polished finish, you can adjust the opacity of the header and seal slightly to create a subtle, aged appearance, enhancing the letter’s mystique.
Crafting the Perfect Invitation Text
Begin with a warm, direct greeting. Address the recipient by name and introduce the magic of Hogwarts. Set the tone with a blend of excitement and formality that mirrors the grandness of the invitation. Use language that captures the enchanting essence of the wizarding world while remaining grounded in reality.
1. Choose Your Words Wisely
Ensure the text sounds official yet inviting. Words like “We are pleased to inform you” or “You have been selected” evoke the prestige of being chosen while maintaining a personal touch. Avoid overly complex language, but aim for sophistication that aligns with the magical theme.
- “It is with great joy that we extend this invitation…”
- “You have been chosen to join the esteemed ranks of Hogwarts School of Witchcraft and Wizardry…”
- “Your magical education awaits…”
2. Be Specific About the Next Steps
Clearly outline what the recipient needs to do next. Specify the time frame for replying, if applicable, and provide concise instructions on what they should expect. This eliminates confusion and adds a layer of authenticity to the experience.
- “Please respond by…”
- “Your acceptance letter will arrive at…”
- “Report to Platform 9¾ at the beginning of the school year…”
These details ensure the recipient feels included and prepared, fostering a sense of excitement for what’s ahead.
Adding Custom Details for Personalization
To make your Hogwarts acceptance letter truly unique, customize the details that will make it stand out. These adjustments add authenticity and give it a personal touch that the recipient will cherish. Here are some specific changes you can make:
- Recipient’s Name: Use the exact name of the person you’re sending the letter to. Whether it’s a nickname, middle name, or first and last name, ensure it matches the character you want to convey.
- Personalized Address: Update the address section with the correct details. Consider including the recipient’s town or neighborhood for a more realistic touch. If you want to get creative, include a fictional address that fits the Hogwarts theme.
- House Assignment: Assign the recipient to a specific Hogwarts house. Whether it’s Gryffindor, Slytherin, Ravenclaw, or Hufflepuff, tailor the letter with a house crest and mention traits that match the individual’s personality.
- Custom Salutation: Instead of a generic greeting, use a phrase that resonates with the recipient. For example, “Dear Brave Wizard [Name],” or “To the Future Hero of Hogwarts.” This makes the letter feel more intimate.
- Date of Issue: Choose a date that holds significance for the recipient, such as their birthday or another special occasion. You can also select a random date in the magical calendar to create more whimsy.
- Special Instructions: Add a personal note or directive. For instance, a message like “Report to the Hogwarts Express on September 1st at Platform 9¾” creates an immersive experience for the recipient.
These customizations help transform a simple letter into an unforgettable keepsake. Make the details align with the person’s interests, and the magic will come to life.
Printing Tips for a Realistic Look
Choose a high-quality, textured paper to mimic the feel of traditional parchment. Opt for a heavier weight, like 80-100 gsm, for a sturdy, authentic appearance. Use a printer with good resolution, preferably 1200 dpi or higher, to capture fine details in the letter.
For a vintage effect, print the letter in a warm, off-white tone. Avoid using bright white paper as it will look too modern. You can also apply a slight sepia filter to the design before printing to enhance the aged look.
To achieve an authentic ink effect, adjust the ink settings to print with rich, dark tones. Experiment with boldness and saturation to prevent the letter from looking washed out.
After printing, distress the edges with a lighter touch of a brown ink pad or lightly burn them for a more aged, weathered look. Be careful not to damage the paper too much, as subtle distressing will create the most realistic result.
If possible, print the letter on both sides for added authenticity. Many old letters were handwritten on both sides, and this extra detail can make the letter feel more genuine.
How to Seal the Letter and Package It
To create an authentic and magical feel, use a wax seal to close your Hogwarts acceptance letter. Choose a wax color that reflects the tone of the letter, such as red or gold for an official look. For the best result, use sealing wax sticks and a wax seal stamp with a Hogwarts crest or a personalized design.
Start by lighting a wax stick over the envelope flap, allowing the wax to drip onto the center. Quickly press the seal into the melted wax and hold it for a few seconds to ensure it forms a clean, sharp impression. Let the wax cool before handling the letter.
Once sealed, you can package the letter in an envelope designed to match the Hogwarts theme. A vintage-style envelope or parchment paper adds authenticity. To prevent damage during delivery, place the letter inside a sturdy, decorative box or a parchment tube.
| Materials | Purpose |
|---|---|
| Wax sticks | For sealing the envelope |
| Wax seal stamp | To create a Hogwarts crest impression |
| Decorative box or parchment tube | For safe packaging and presentation |
For a touch of extra magic, consider tying the package with a ribbon in house colors or adding a faux owl feather to the outside for a personalized effect. Seal the package securely with a label showing the recipient’s name, and you’re ready for delivery.